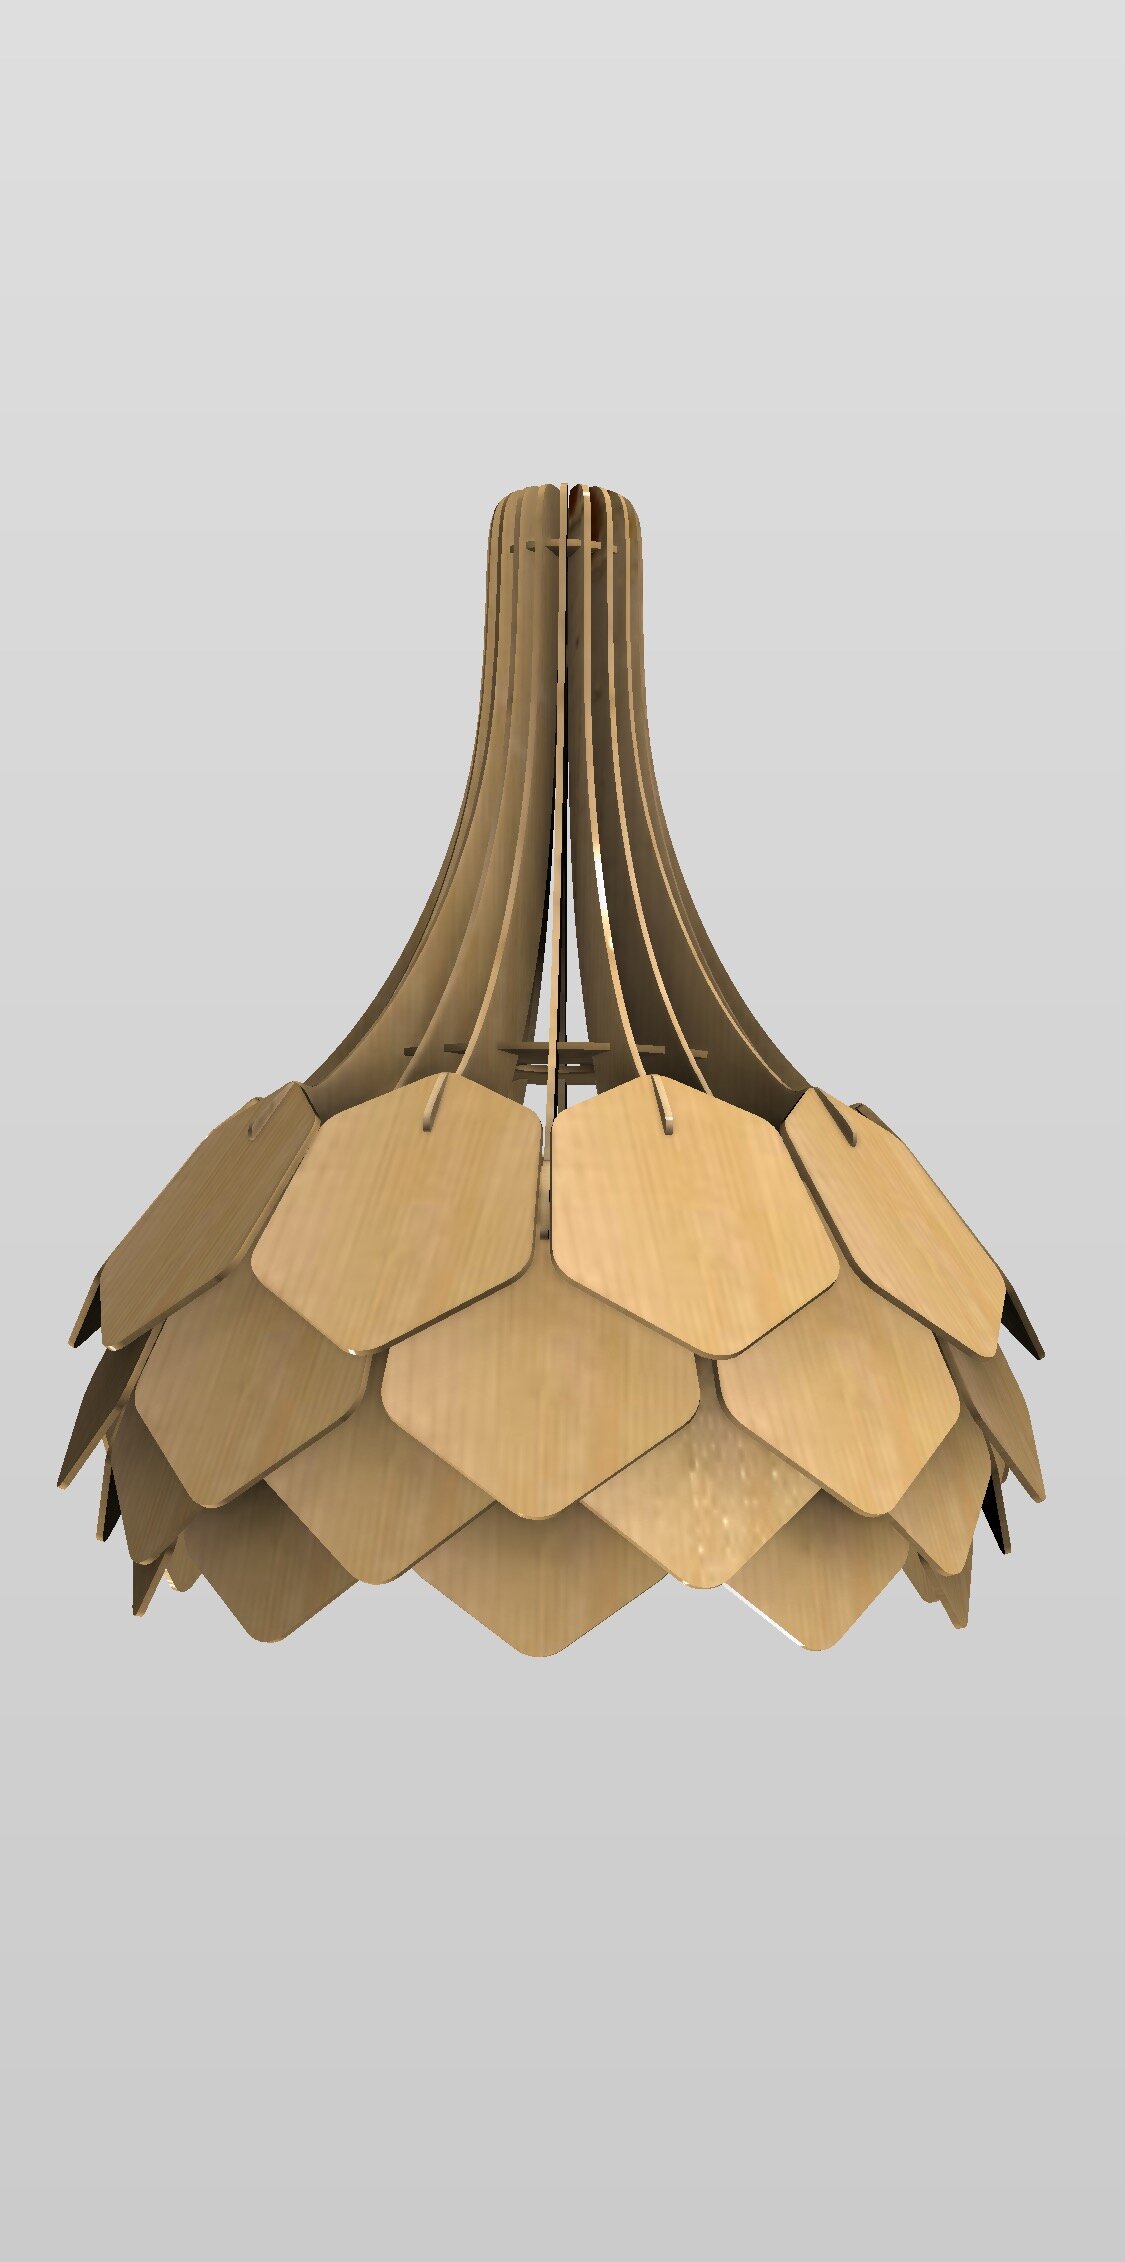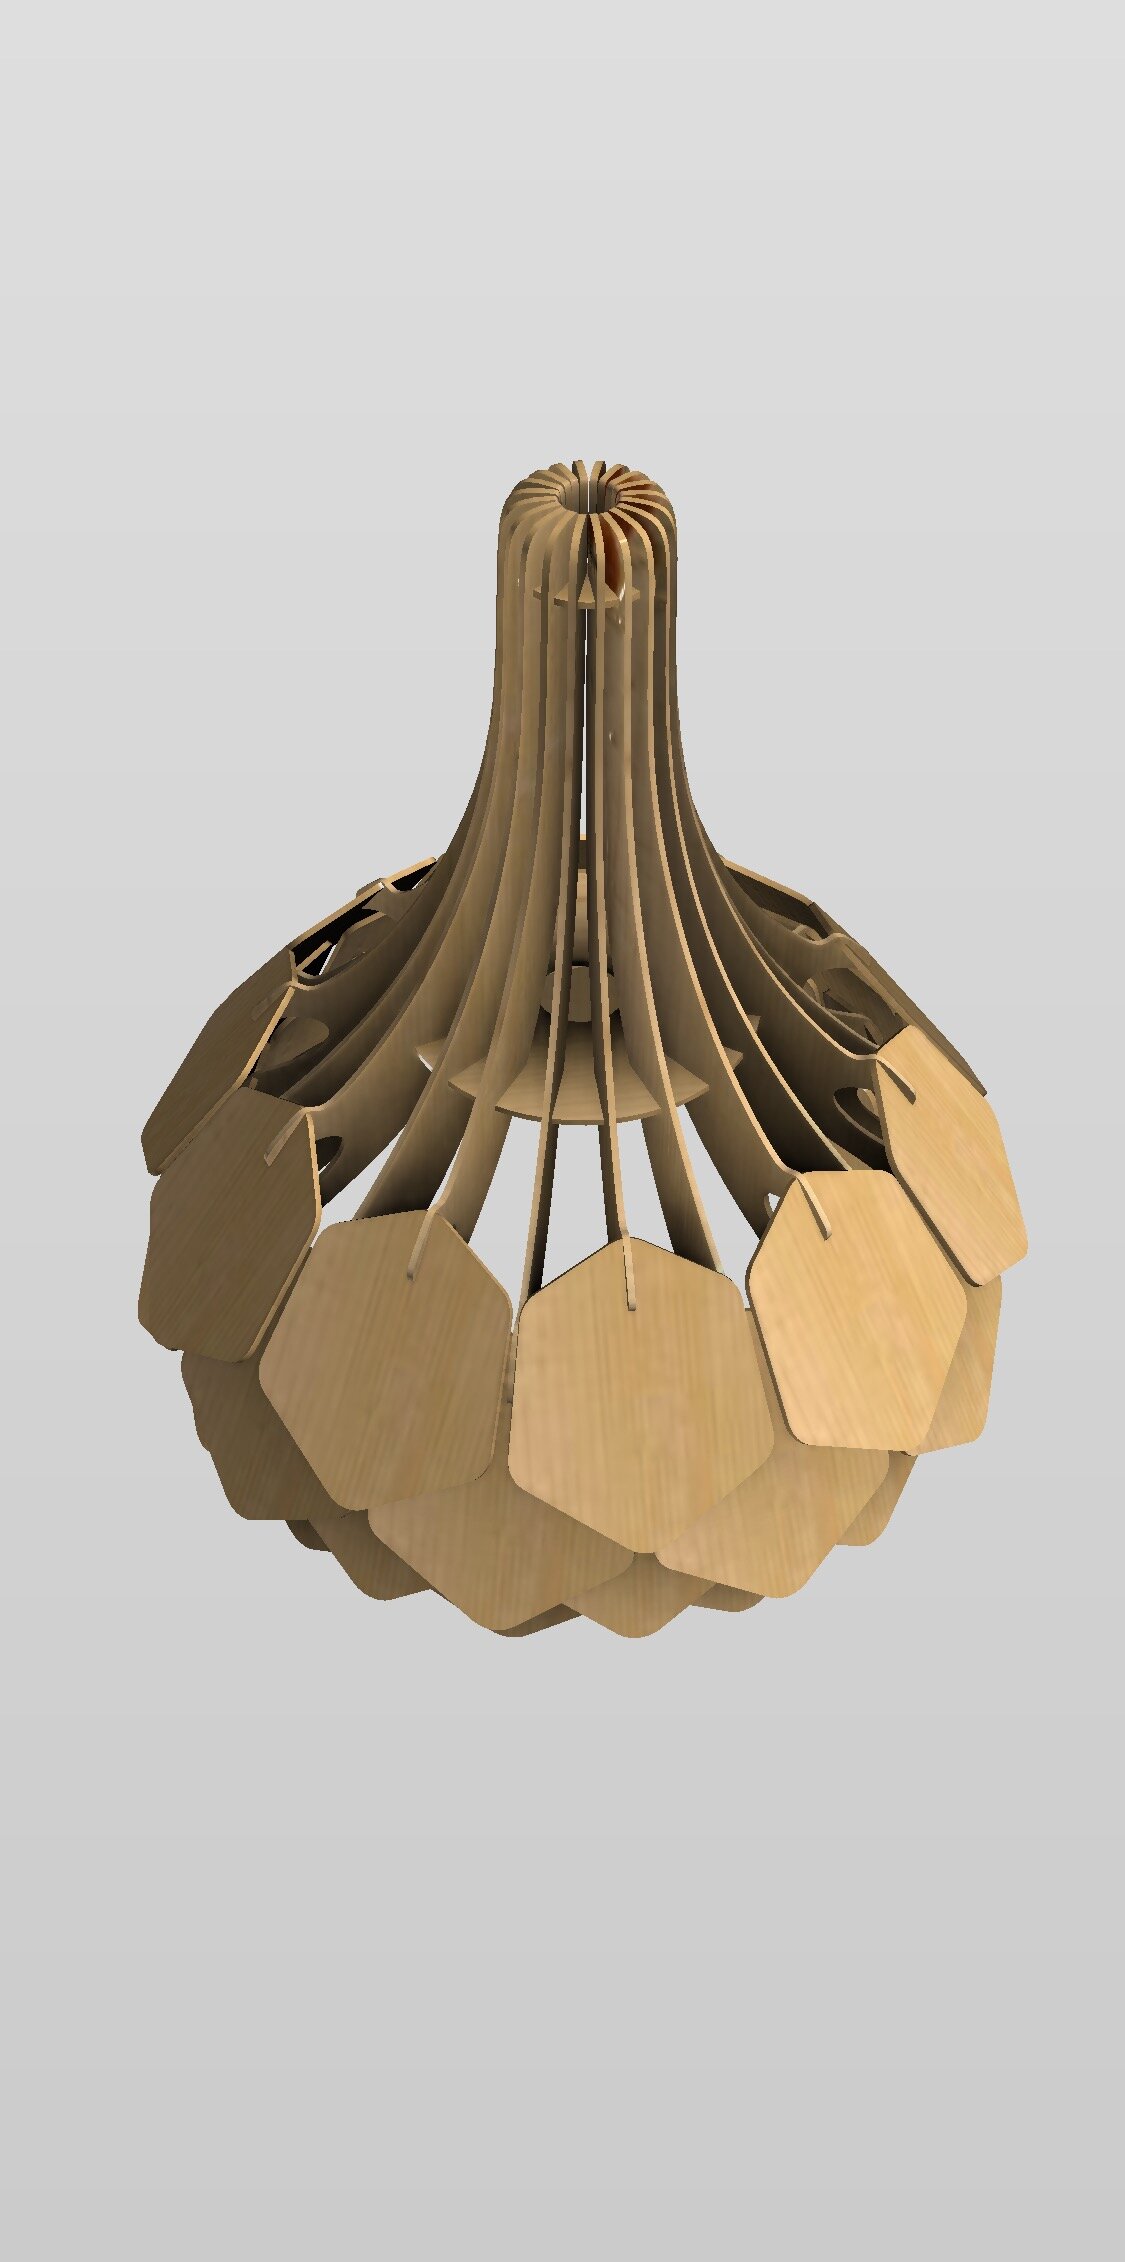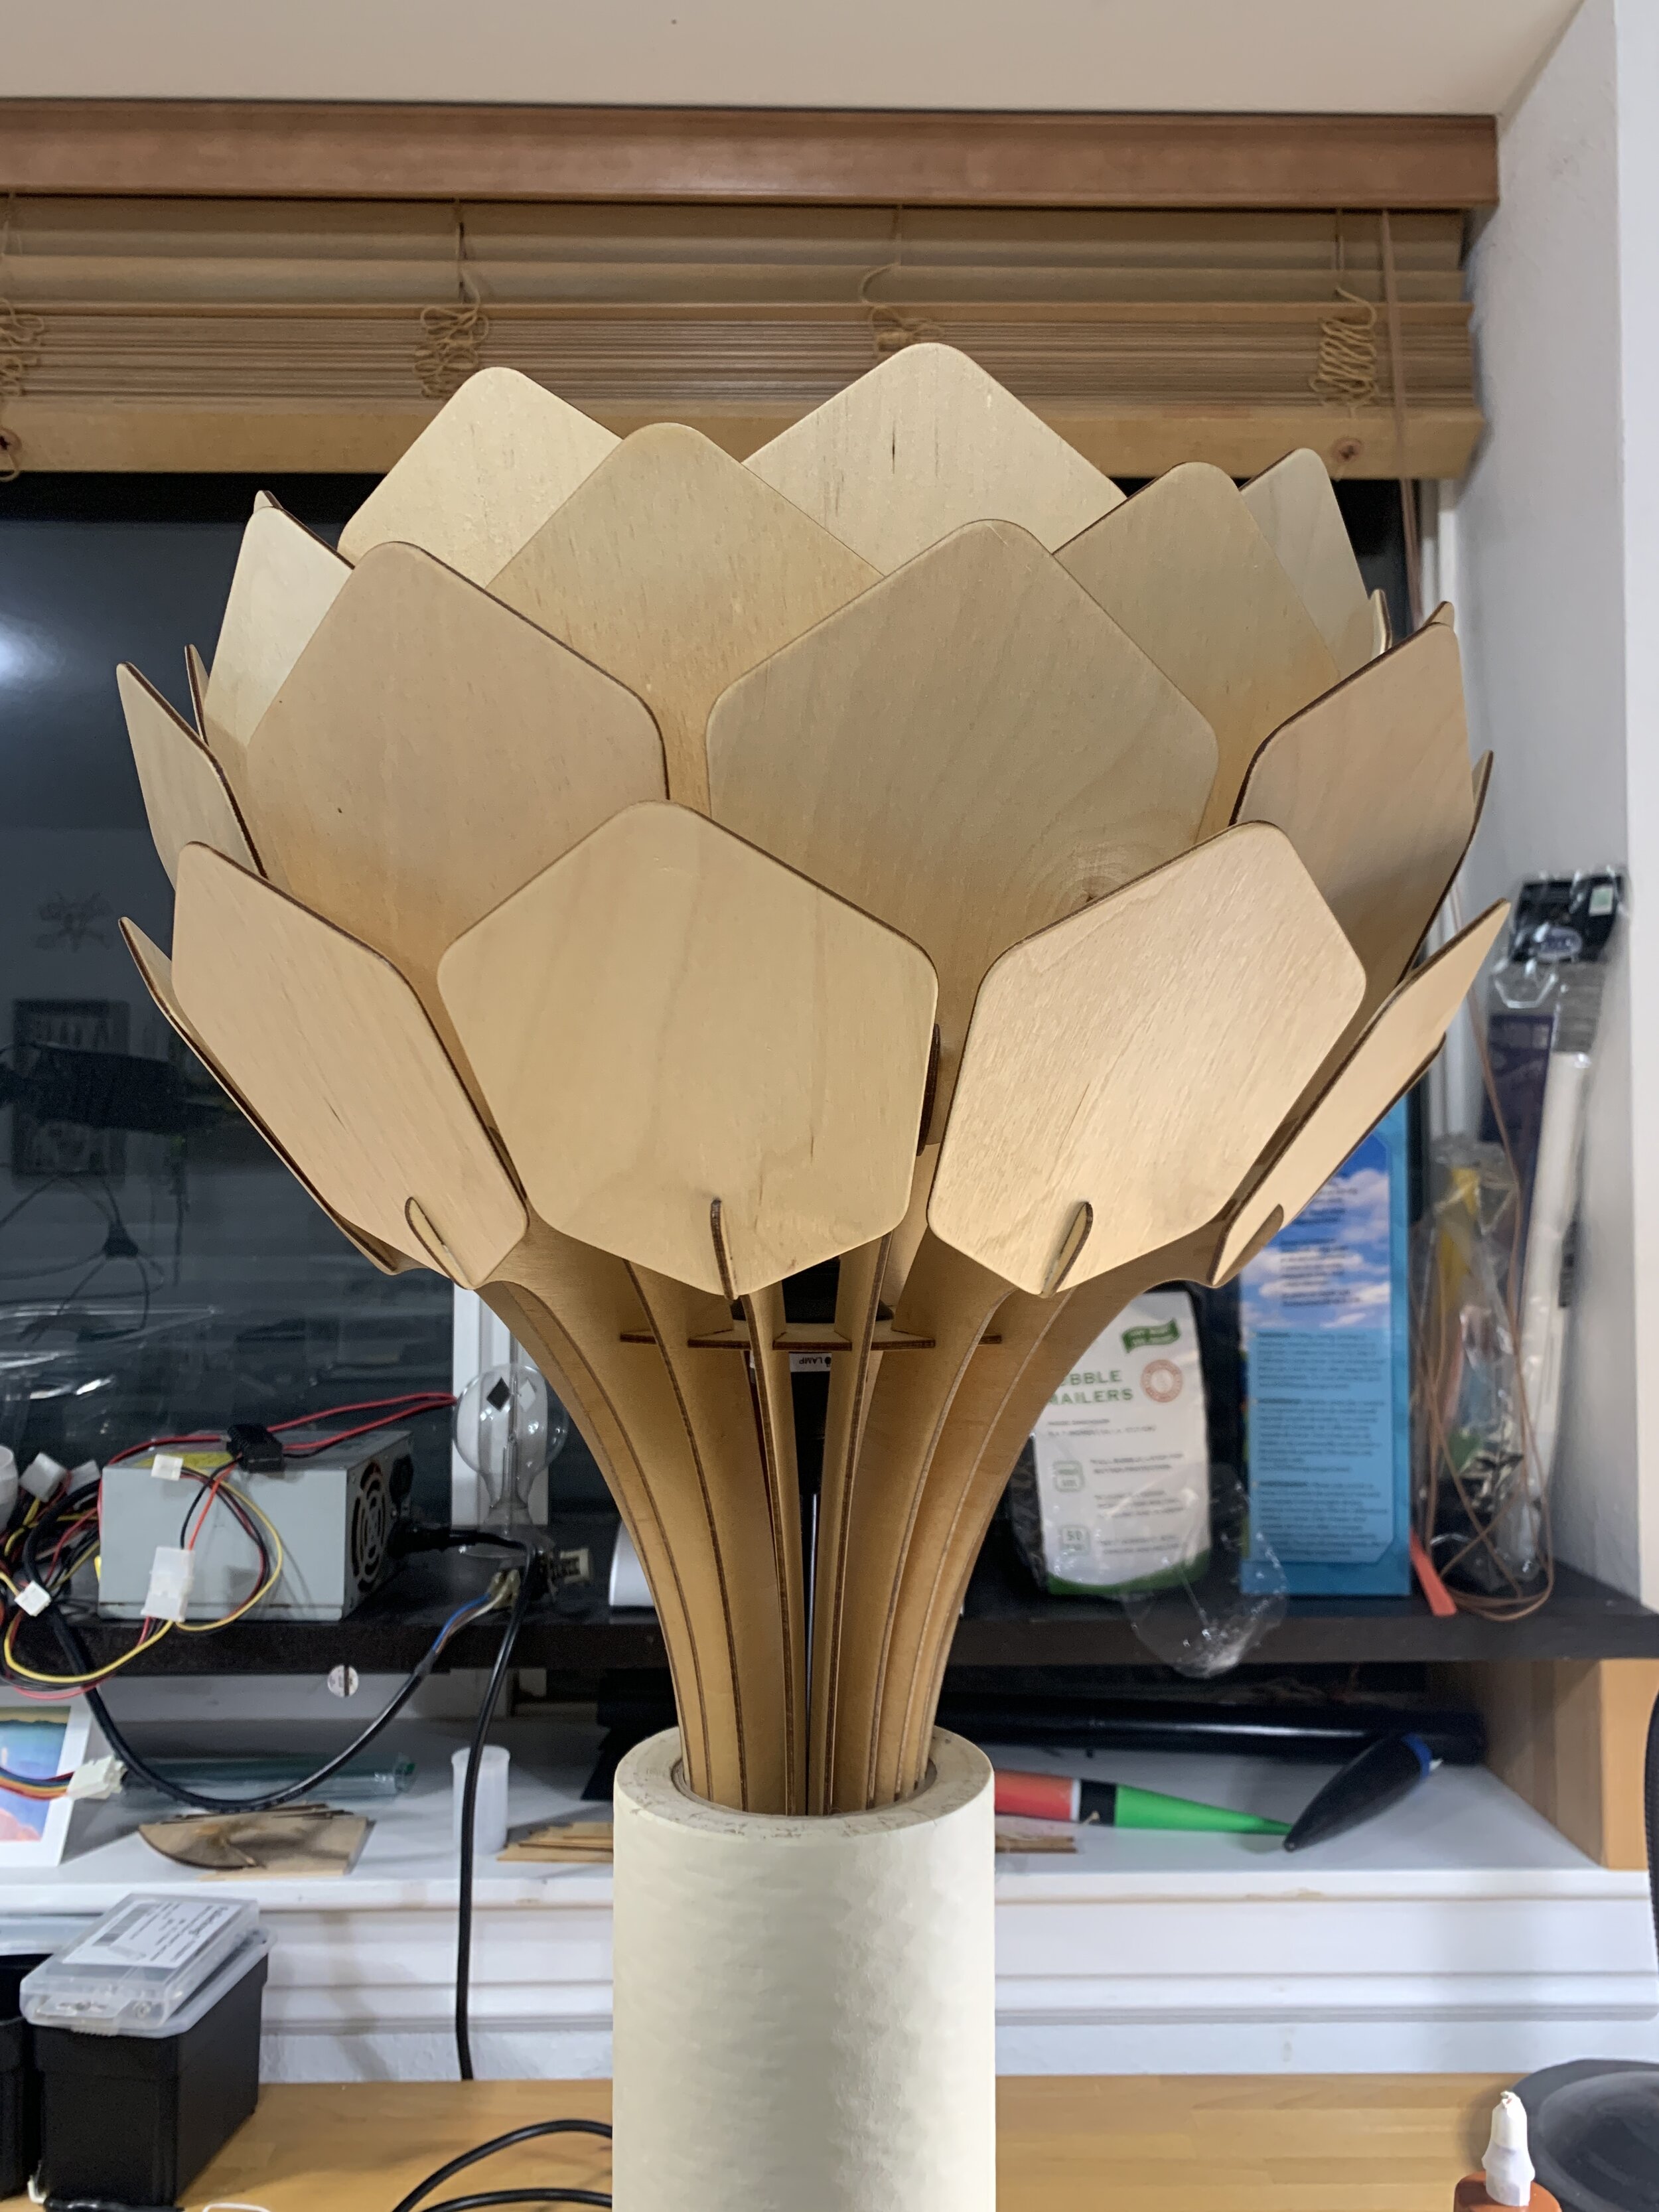
I saw an image of a laser cut lamp a couple years back that I’ve wanted to build ever since. I decided to use it to teach myself some Fusion 360 techniques in early 2020, so I modeled it up a few times in different ways so I could learn how to build the model parametrically (so you can change things like stock thickness, kerf, etc…) and export panels for laser cutting directly from Fusion 360. I got it 90% of the way there… and it got back burnered as so many projects do.
Over the holidays was the perfect time to load it back up and finalize the model so I could cut and create the panels. You can view the final model on the web (be sure to play with the “explode” feature… pretty fun)!
The current trick I’m using (this will likely change as Fusion 360 matures) for exporting vector files, DXF in this case, from Fusion 360 to be able to cut them on a laser is as follows:
When the model is finalized, Click “Create Sketch”, and select the planar face you want to export. Click “Finish Sketch”. This should make a new sketch layer with a red lock icon.
Right click this Sketch in the browser and you can then select “Save as DXF.”
This will get you a DXF file that you should be able to open in whatever vector based app you use to do your laser cutting prep, in my case Illustrator.
This works well for Polyline based curves but anything that is Spline based ends up exporting pretty low resolution. For those I had to use the “DXF Spline to Polyline” plug-in and crank up the sections to something usable, which I then simplified in Illustrator using path simplification. This works really well to get nice curves and keeps the slots in tact.
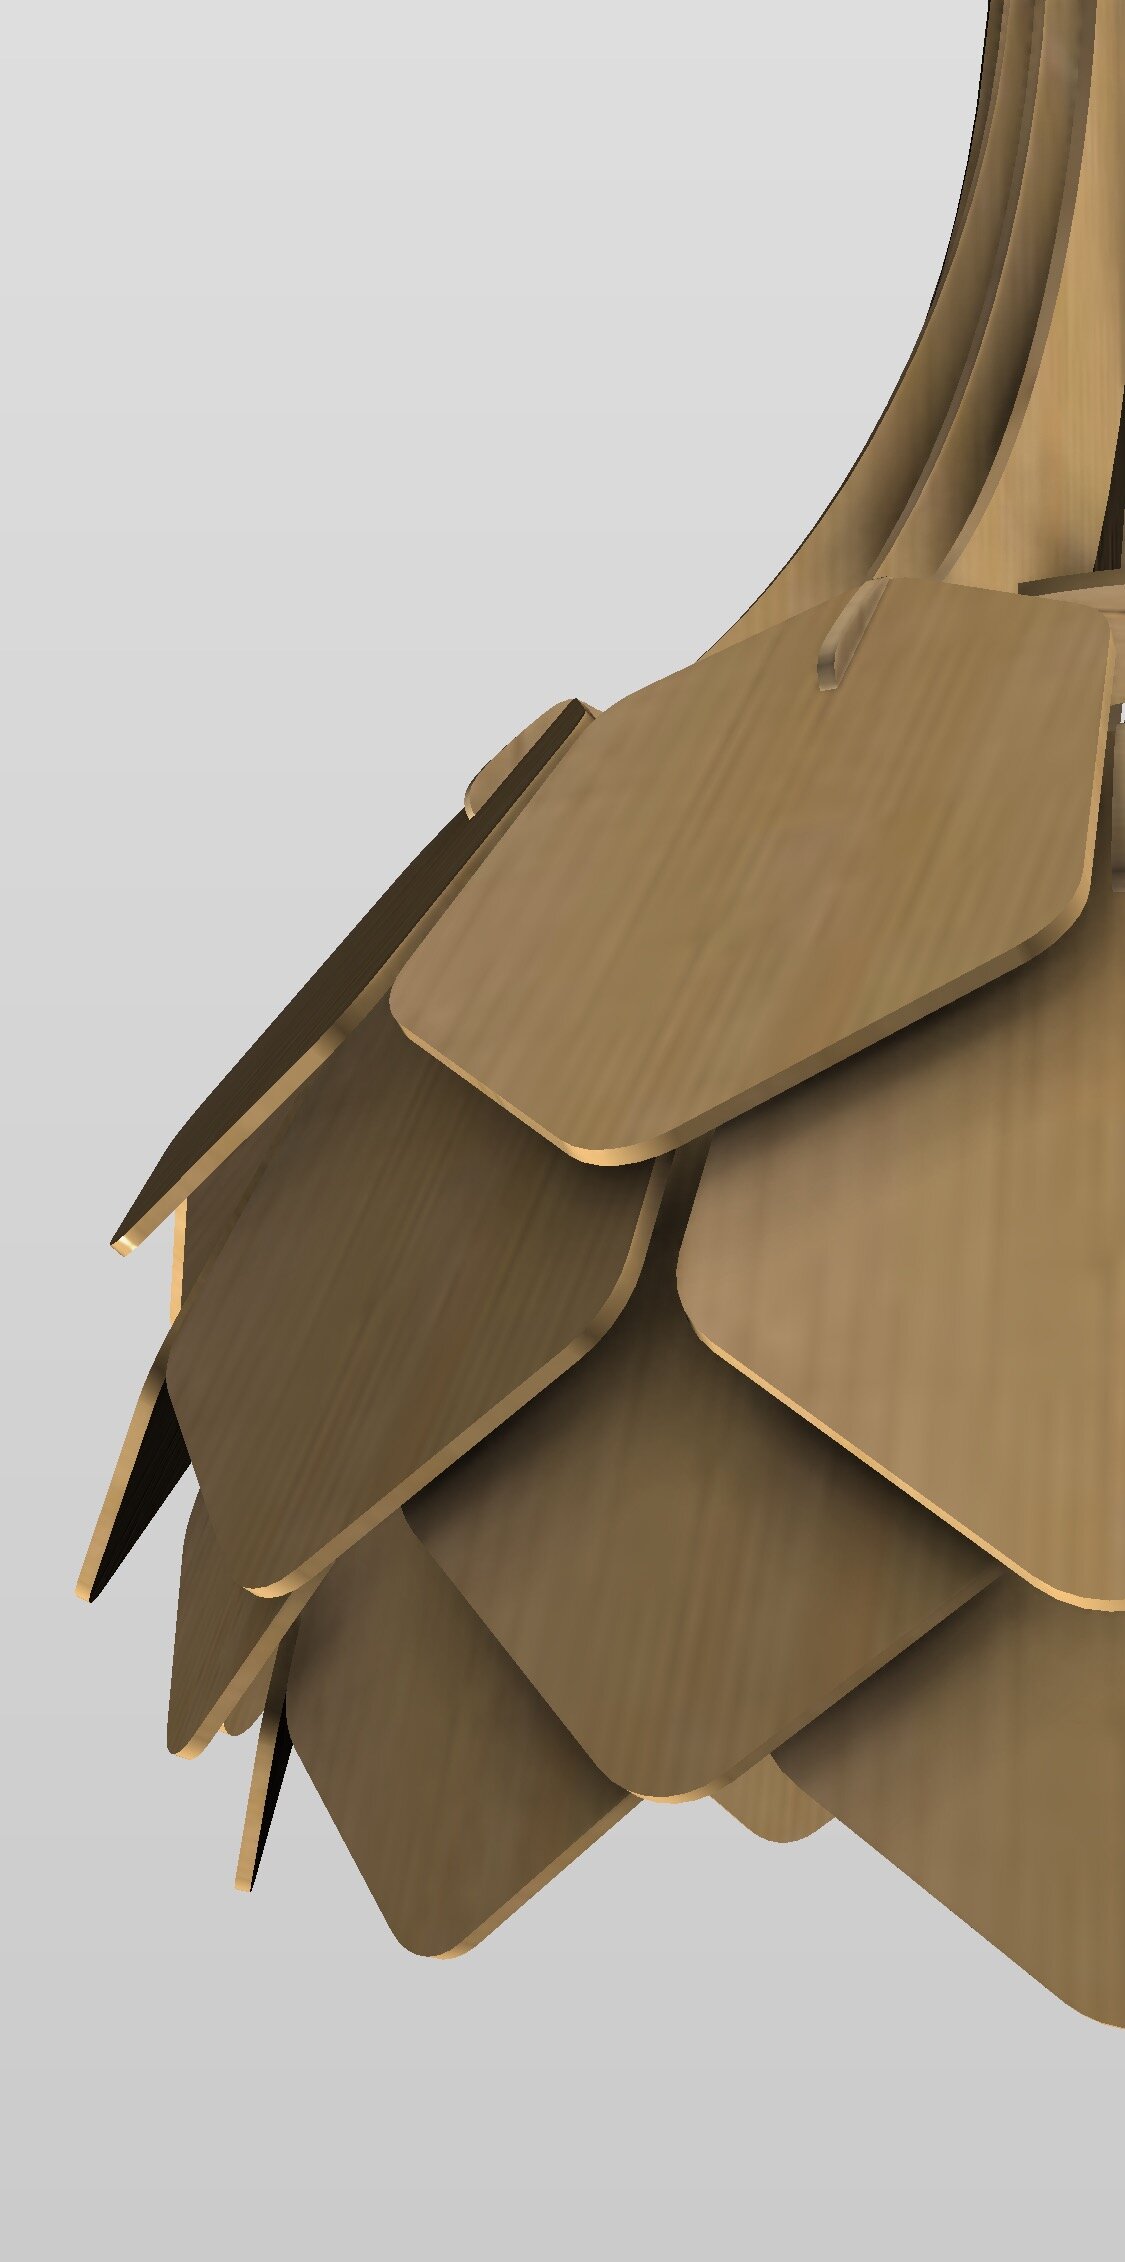
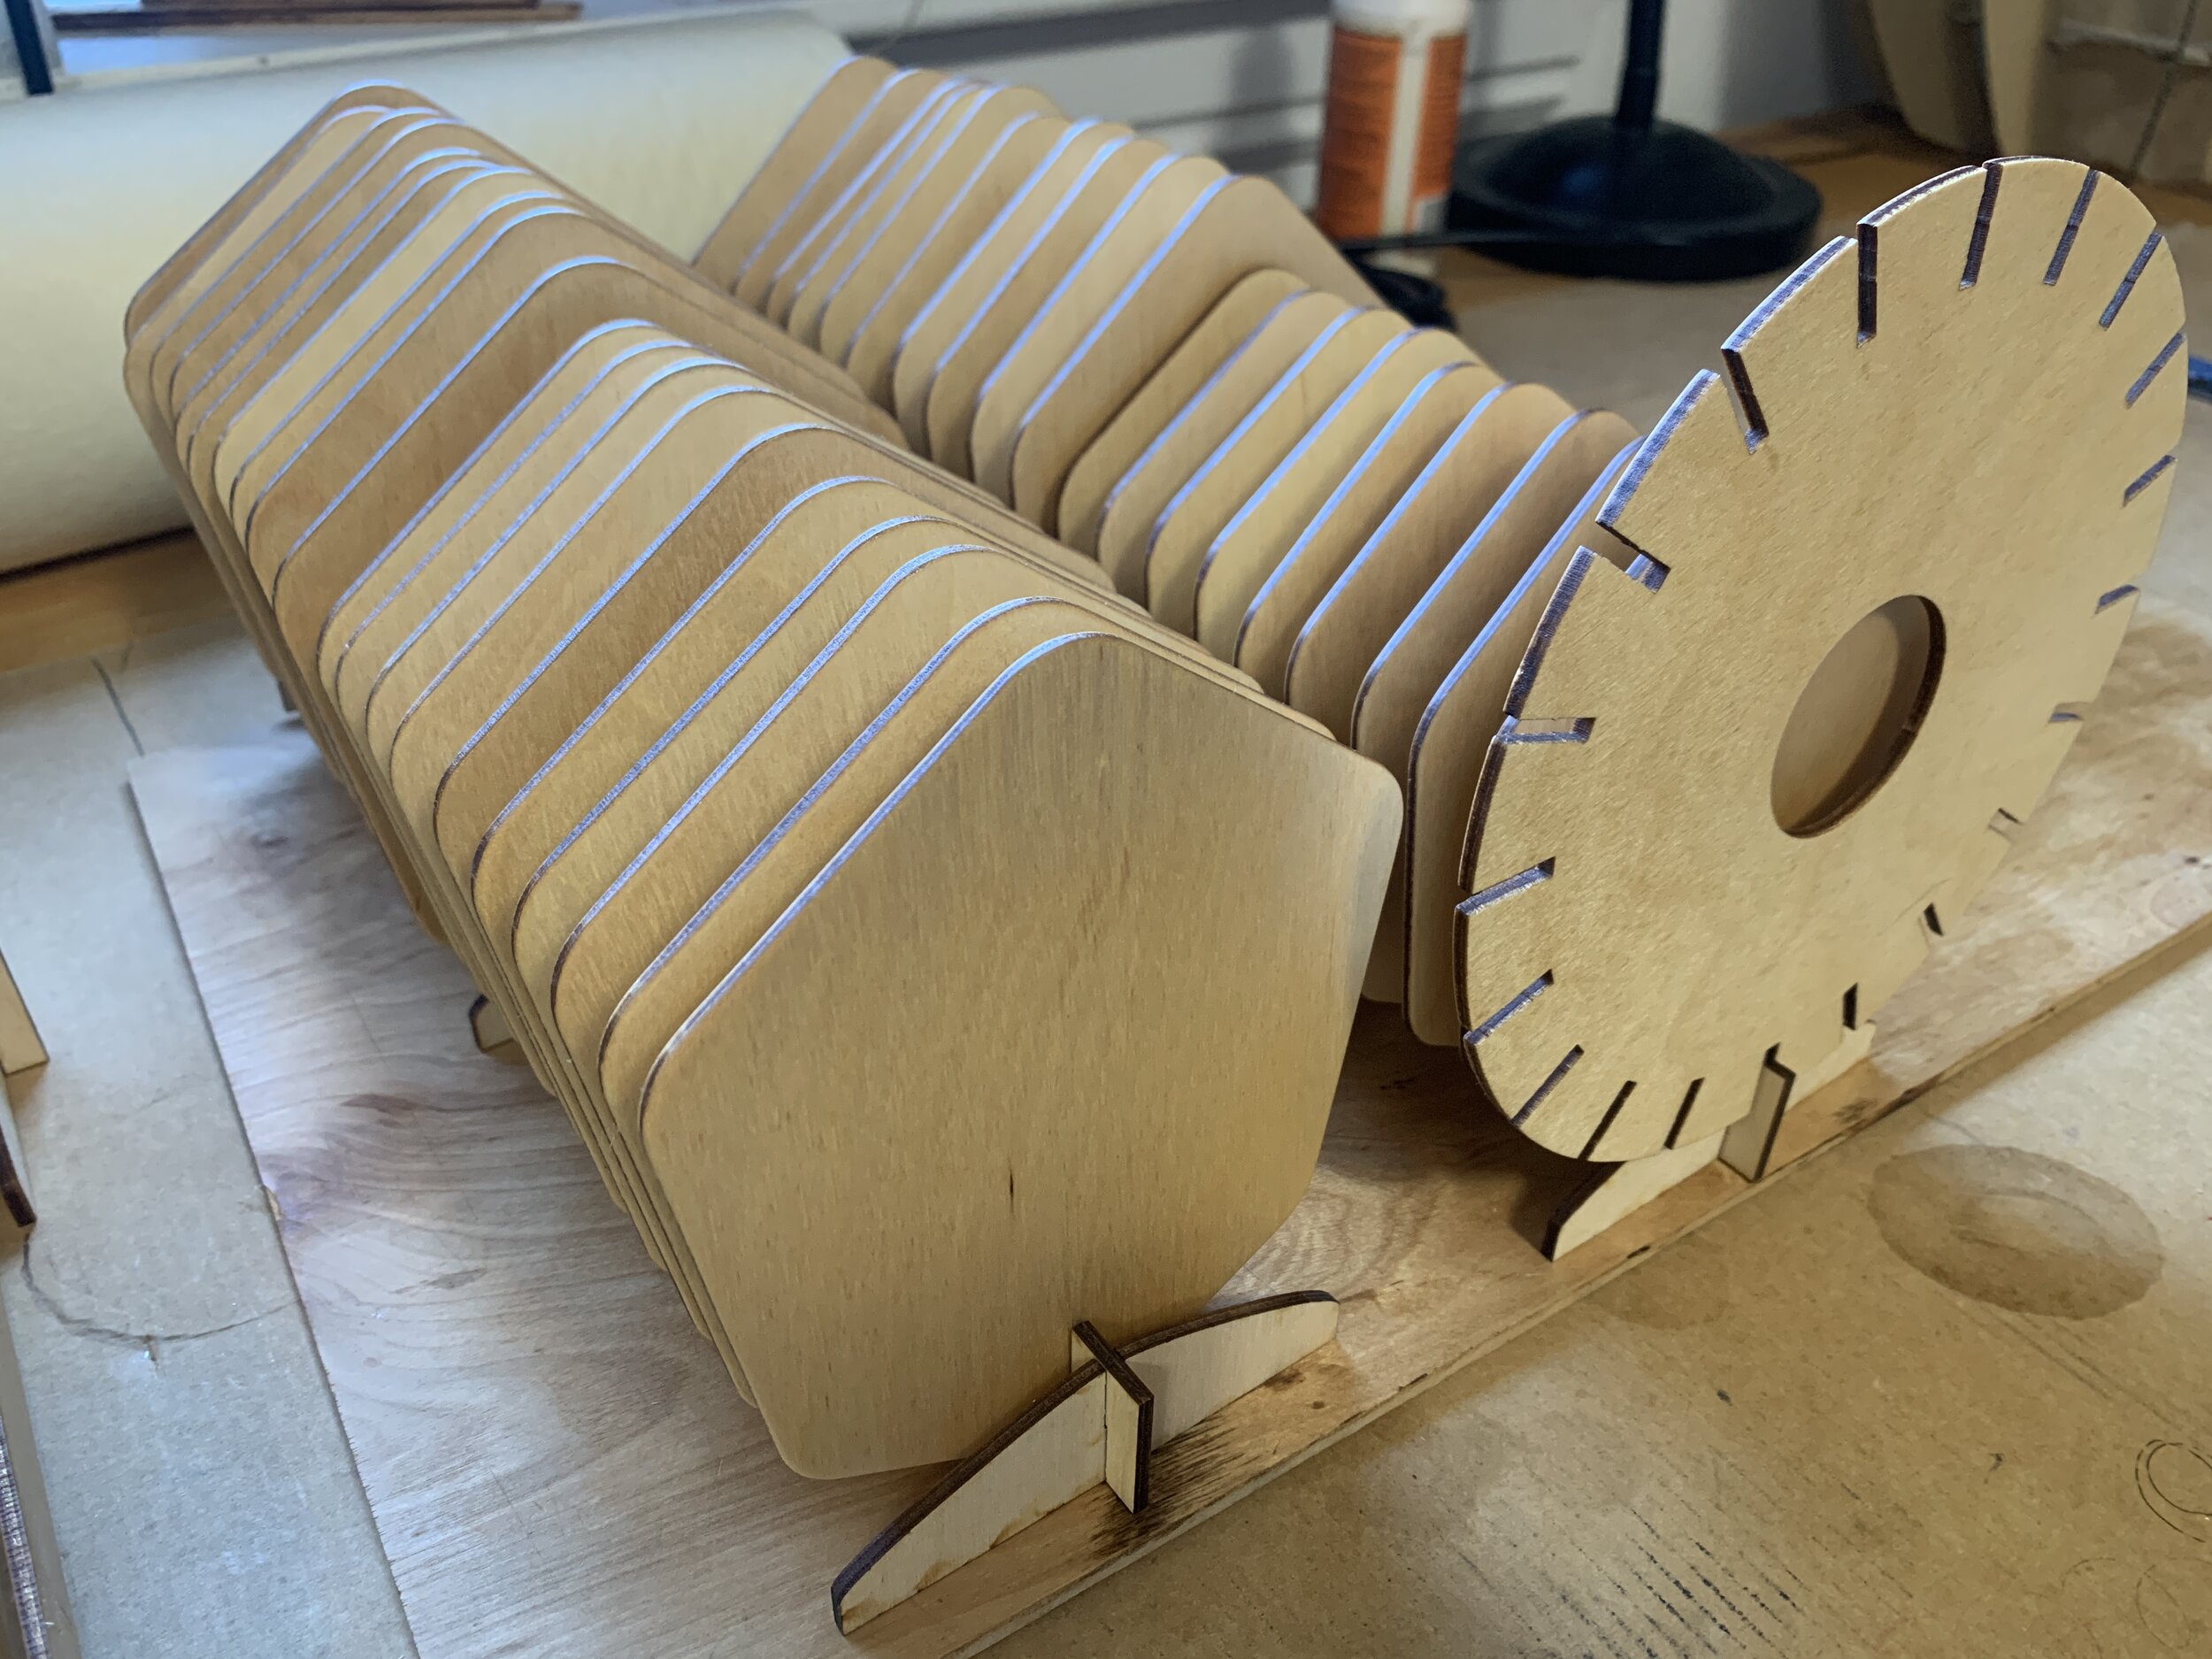
I ended up adding slot “nibs” for the first time and what a huge revelation these are. This allowed me to not think much about the kerf and just model the joining slots with the measurements of the stock, 3mm birch ply in this case, and after adding the nibs, the pieces fit together really nice. I added these in Illustrator afterward, but will set them into the model in Fusion in the future. I used three .2mm high nibs per slot…. something like this:

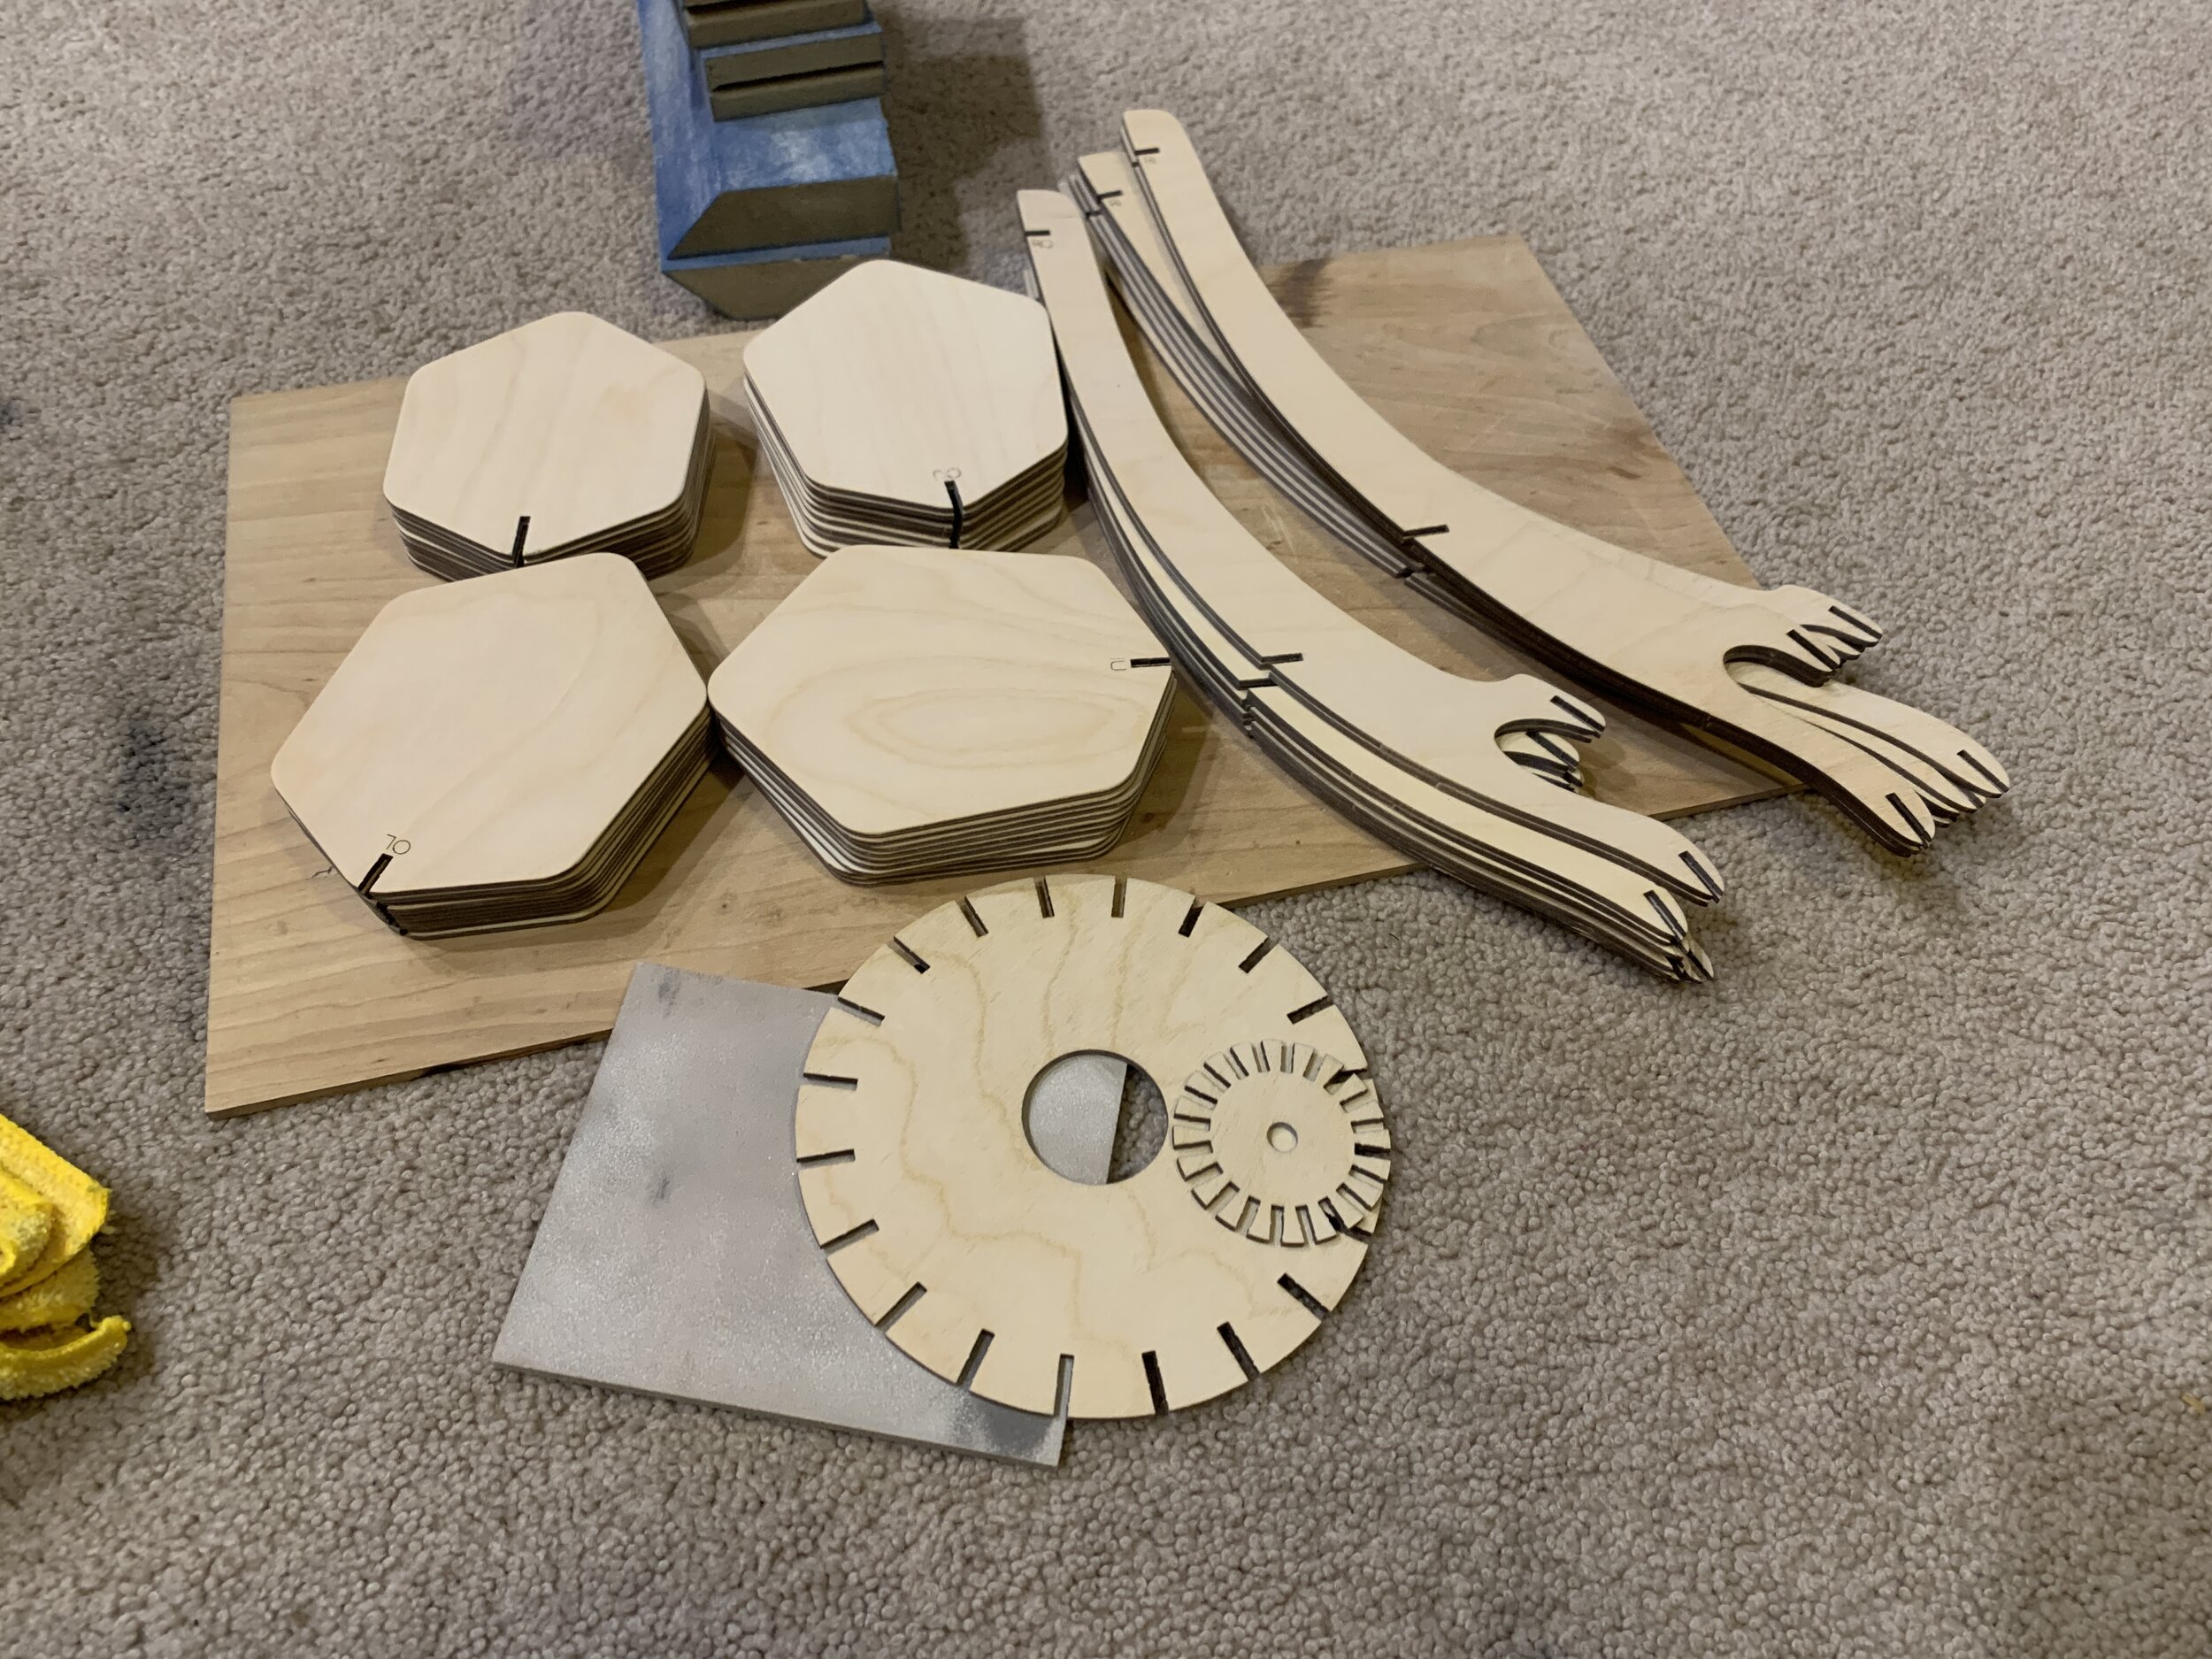
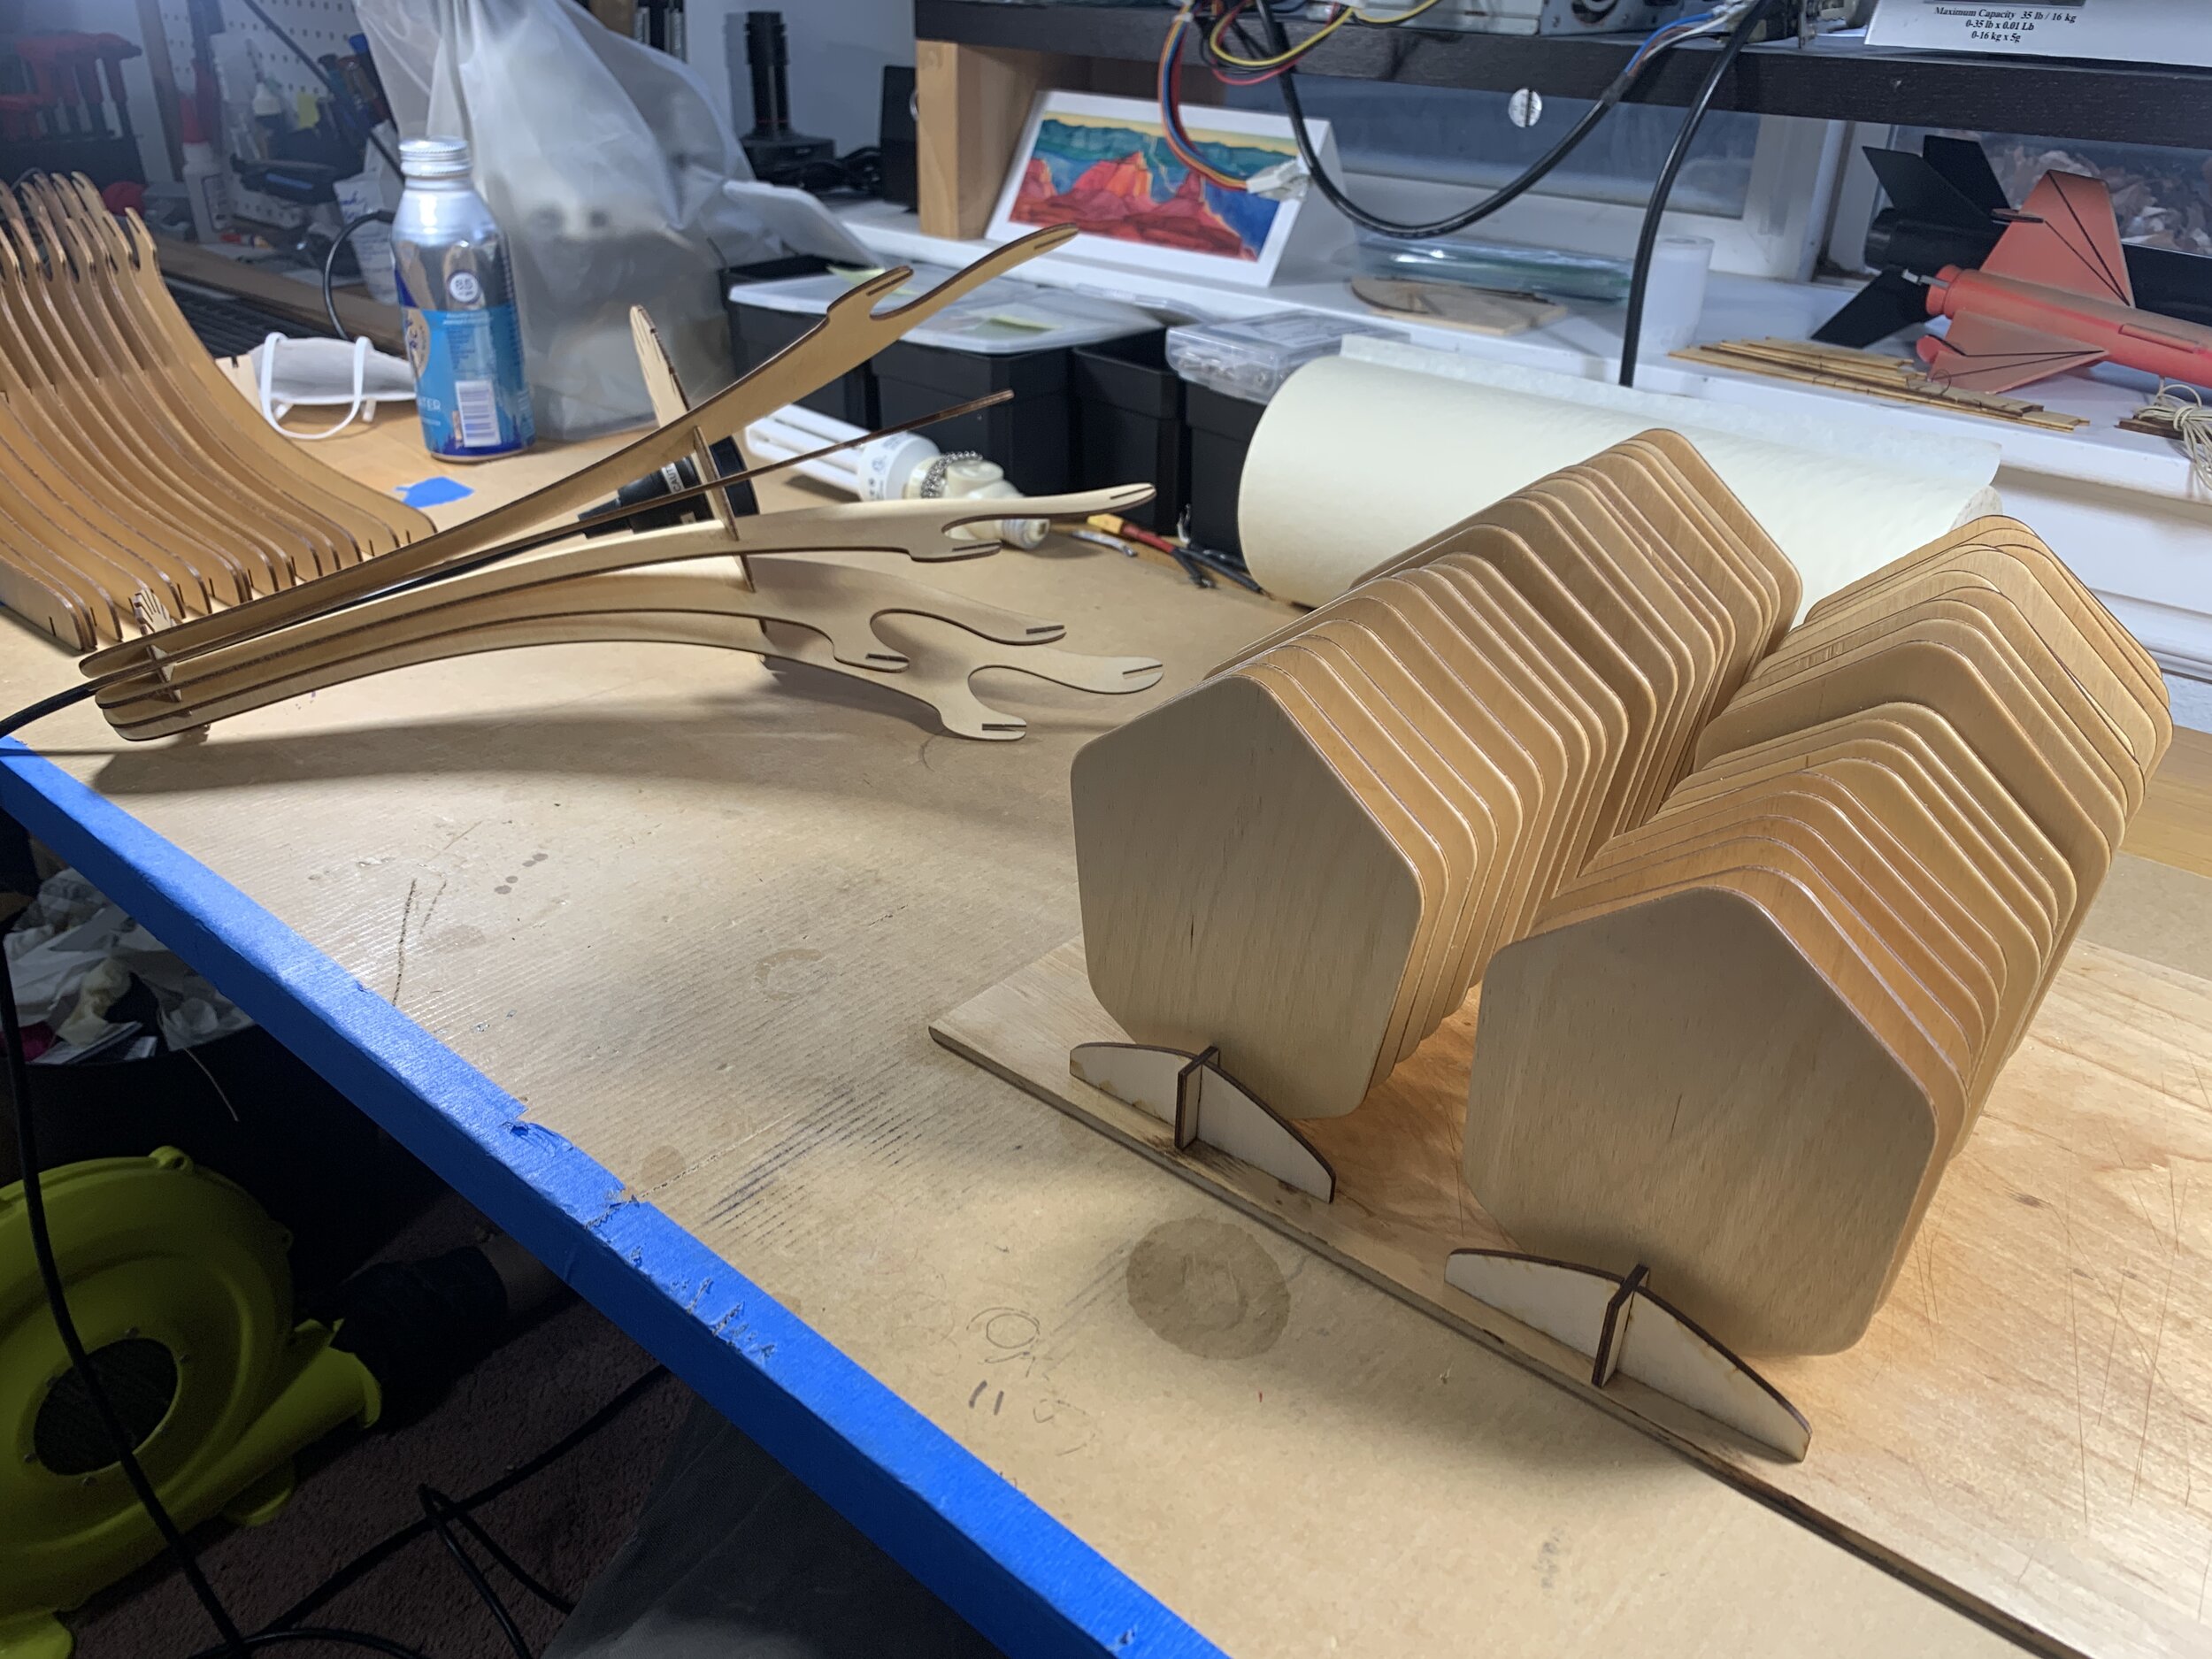
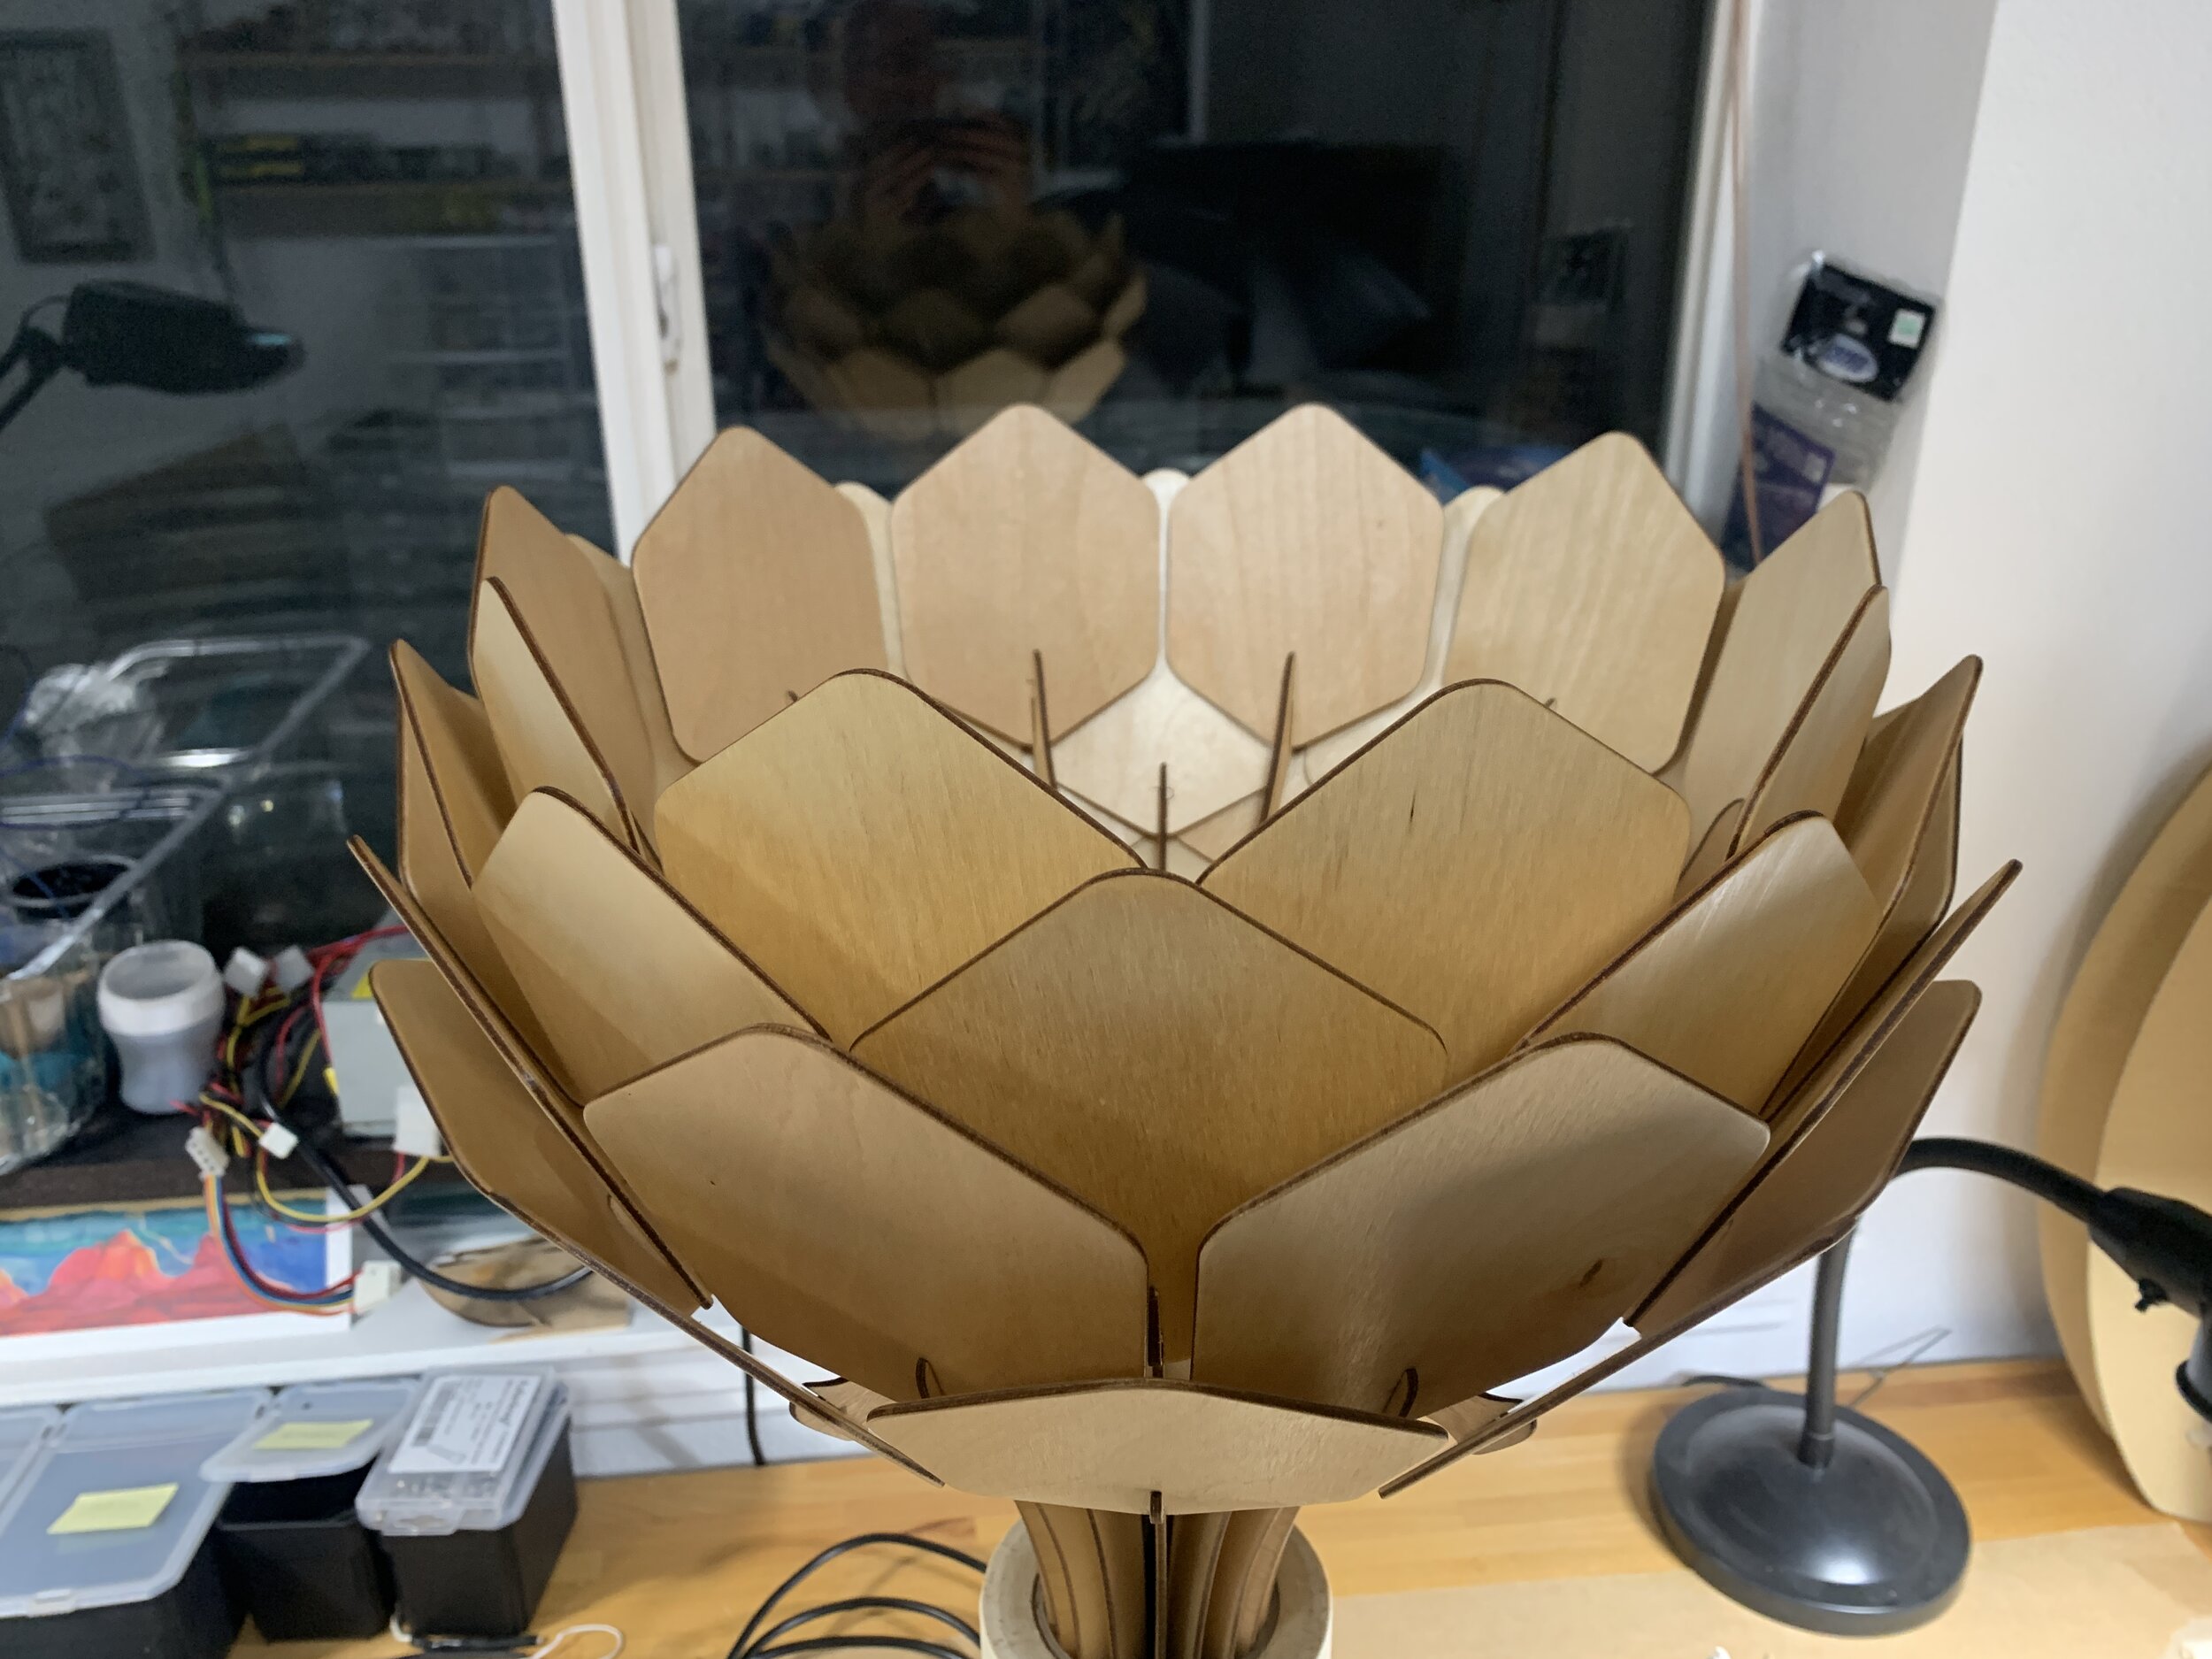
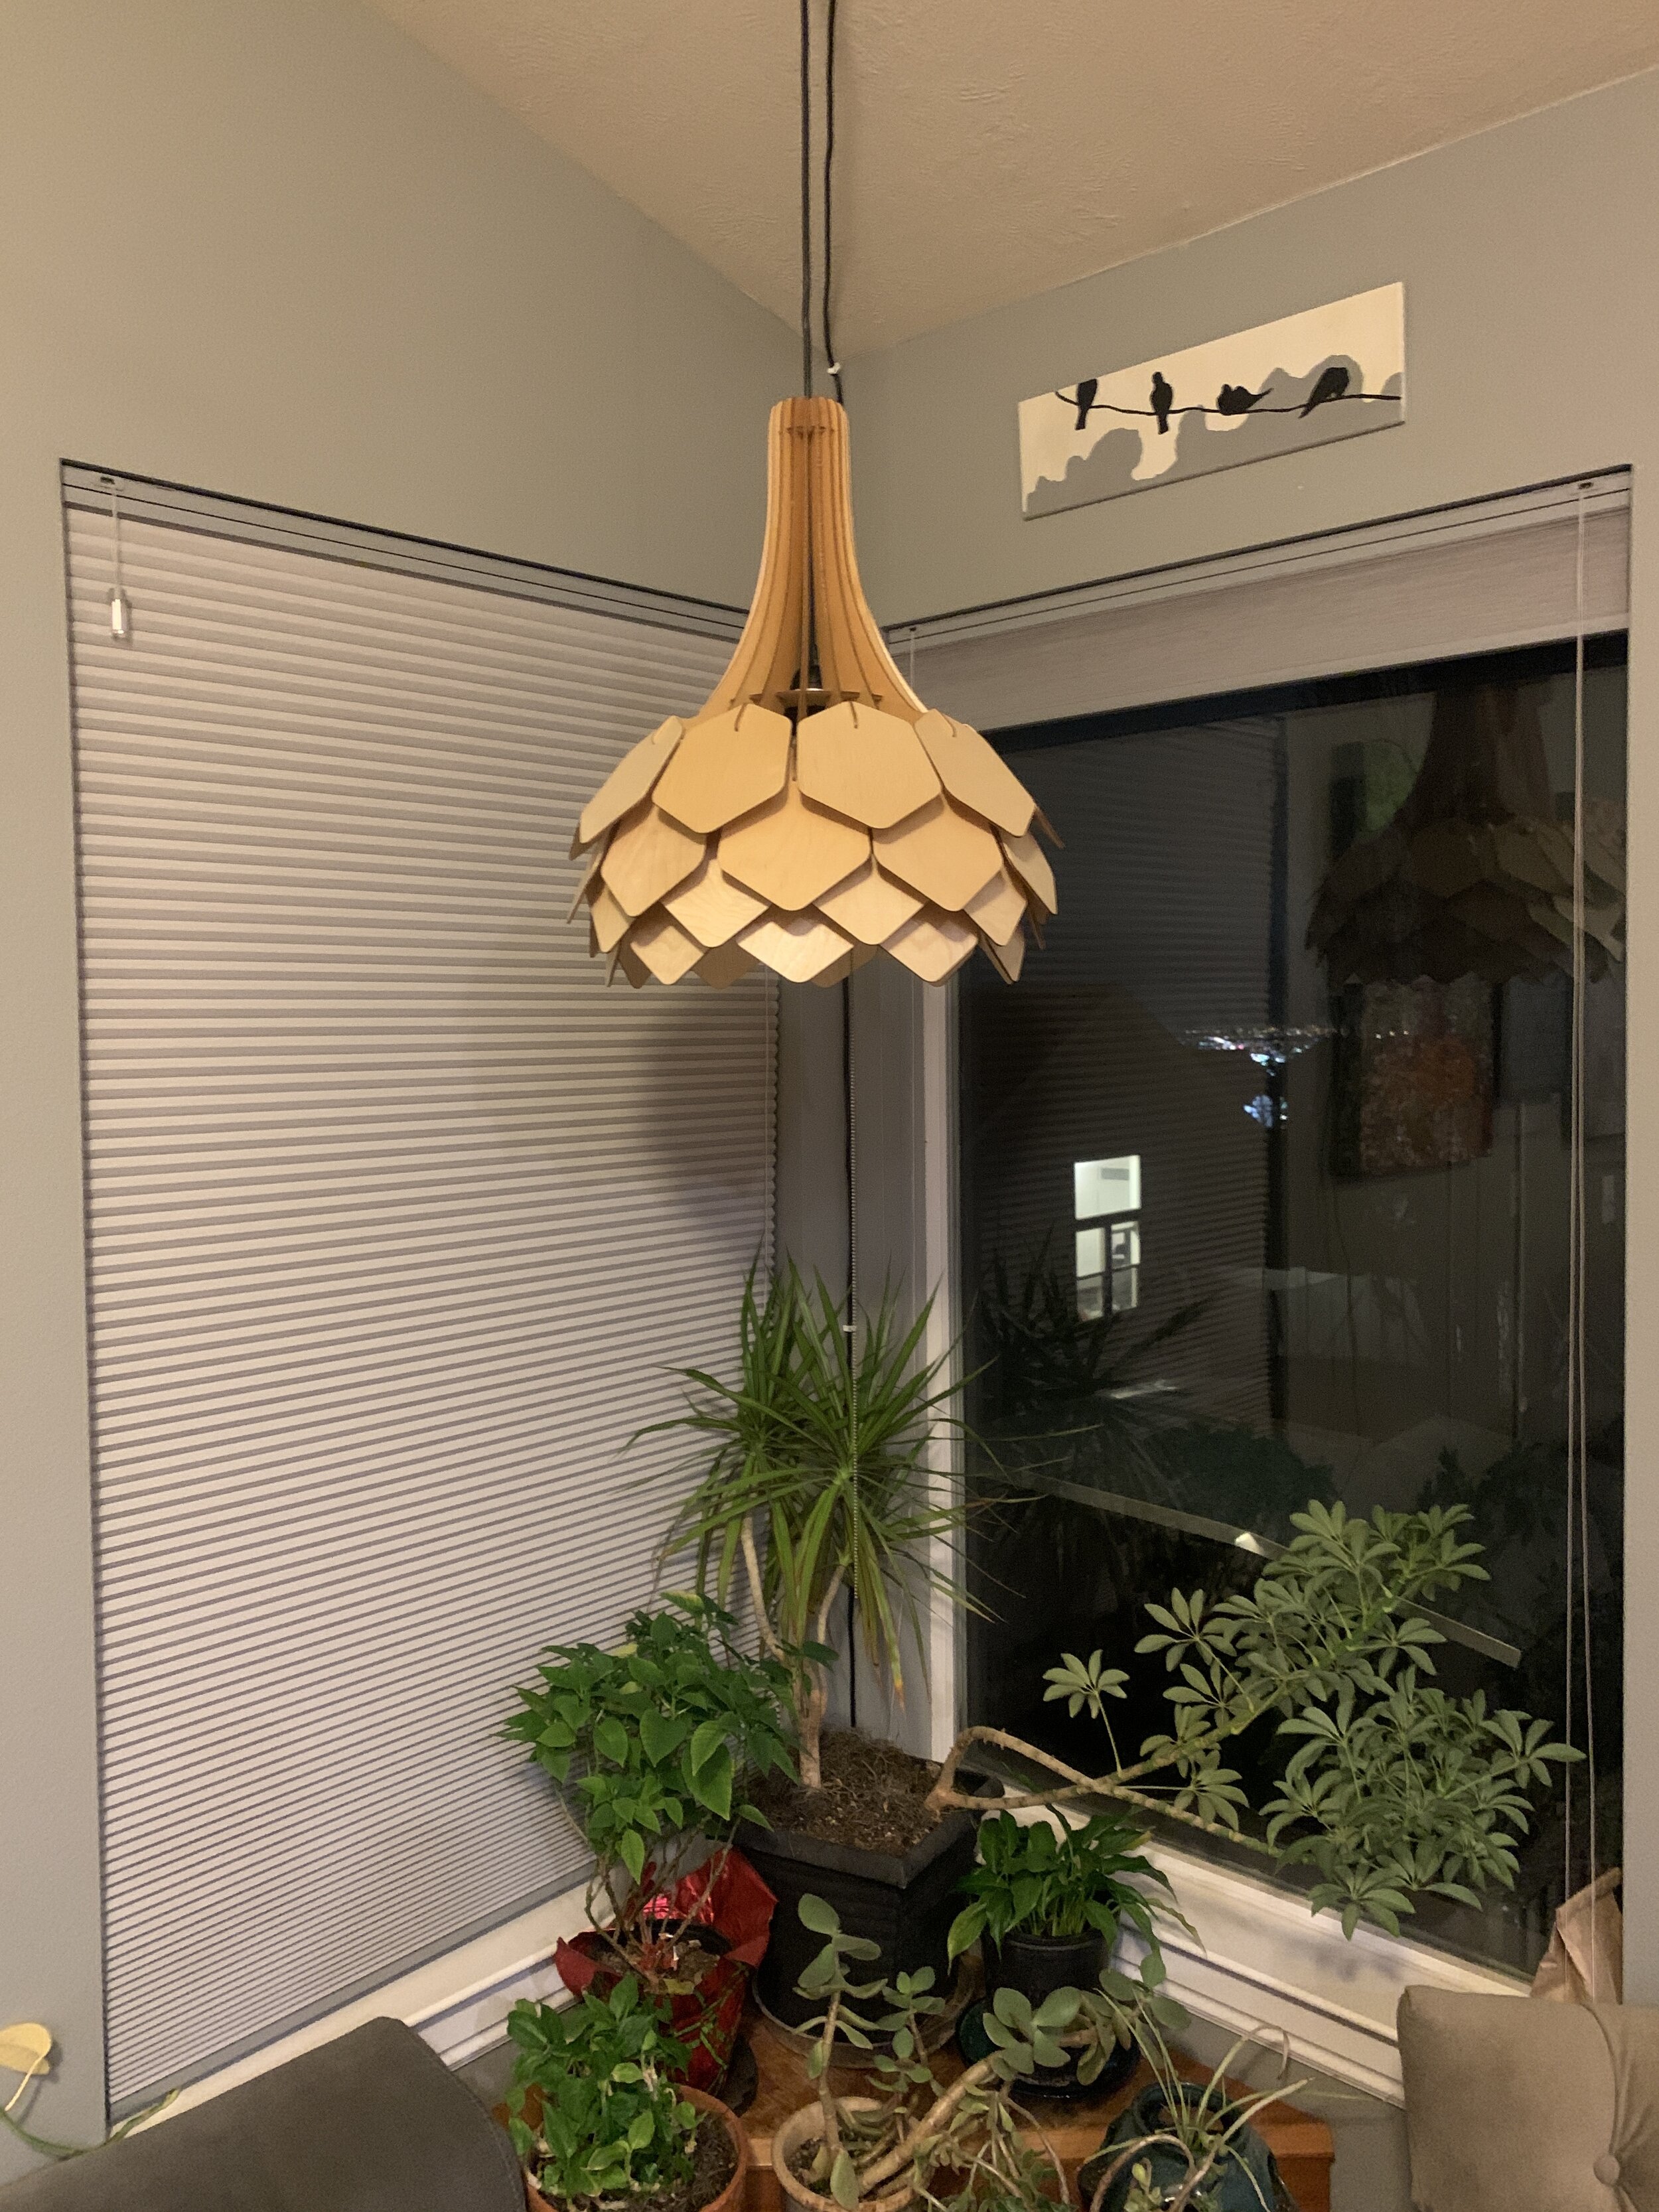
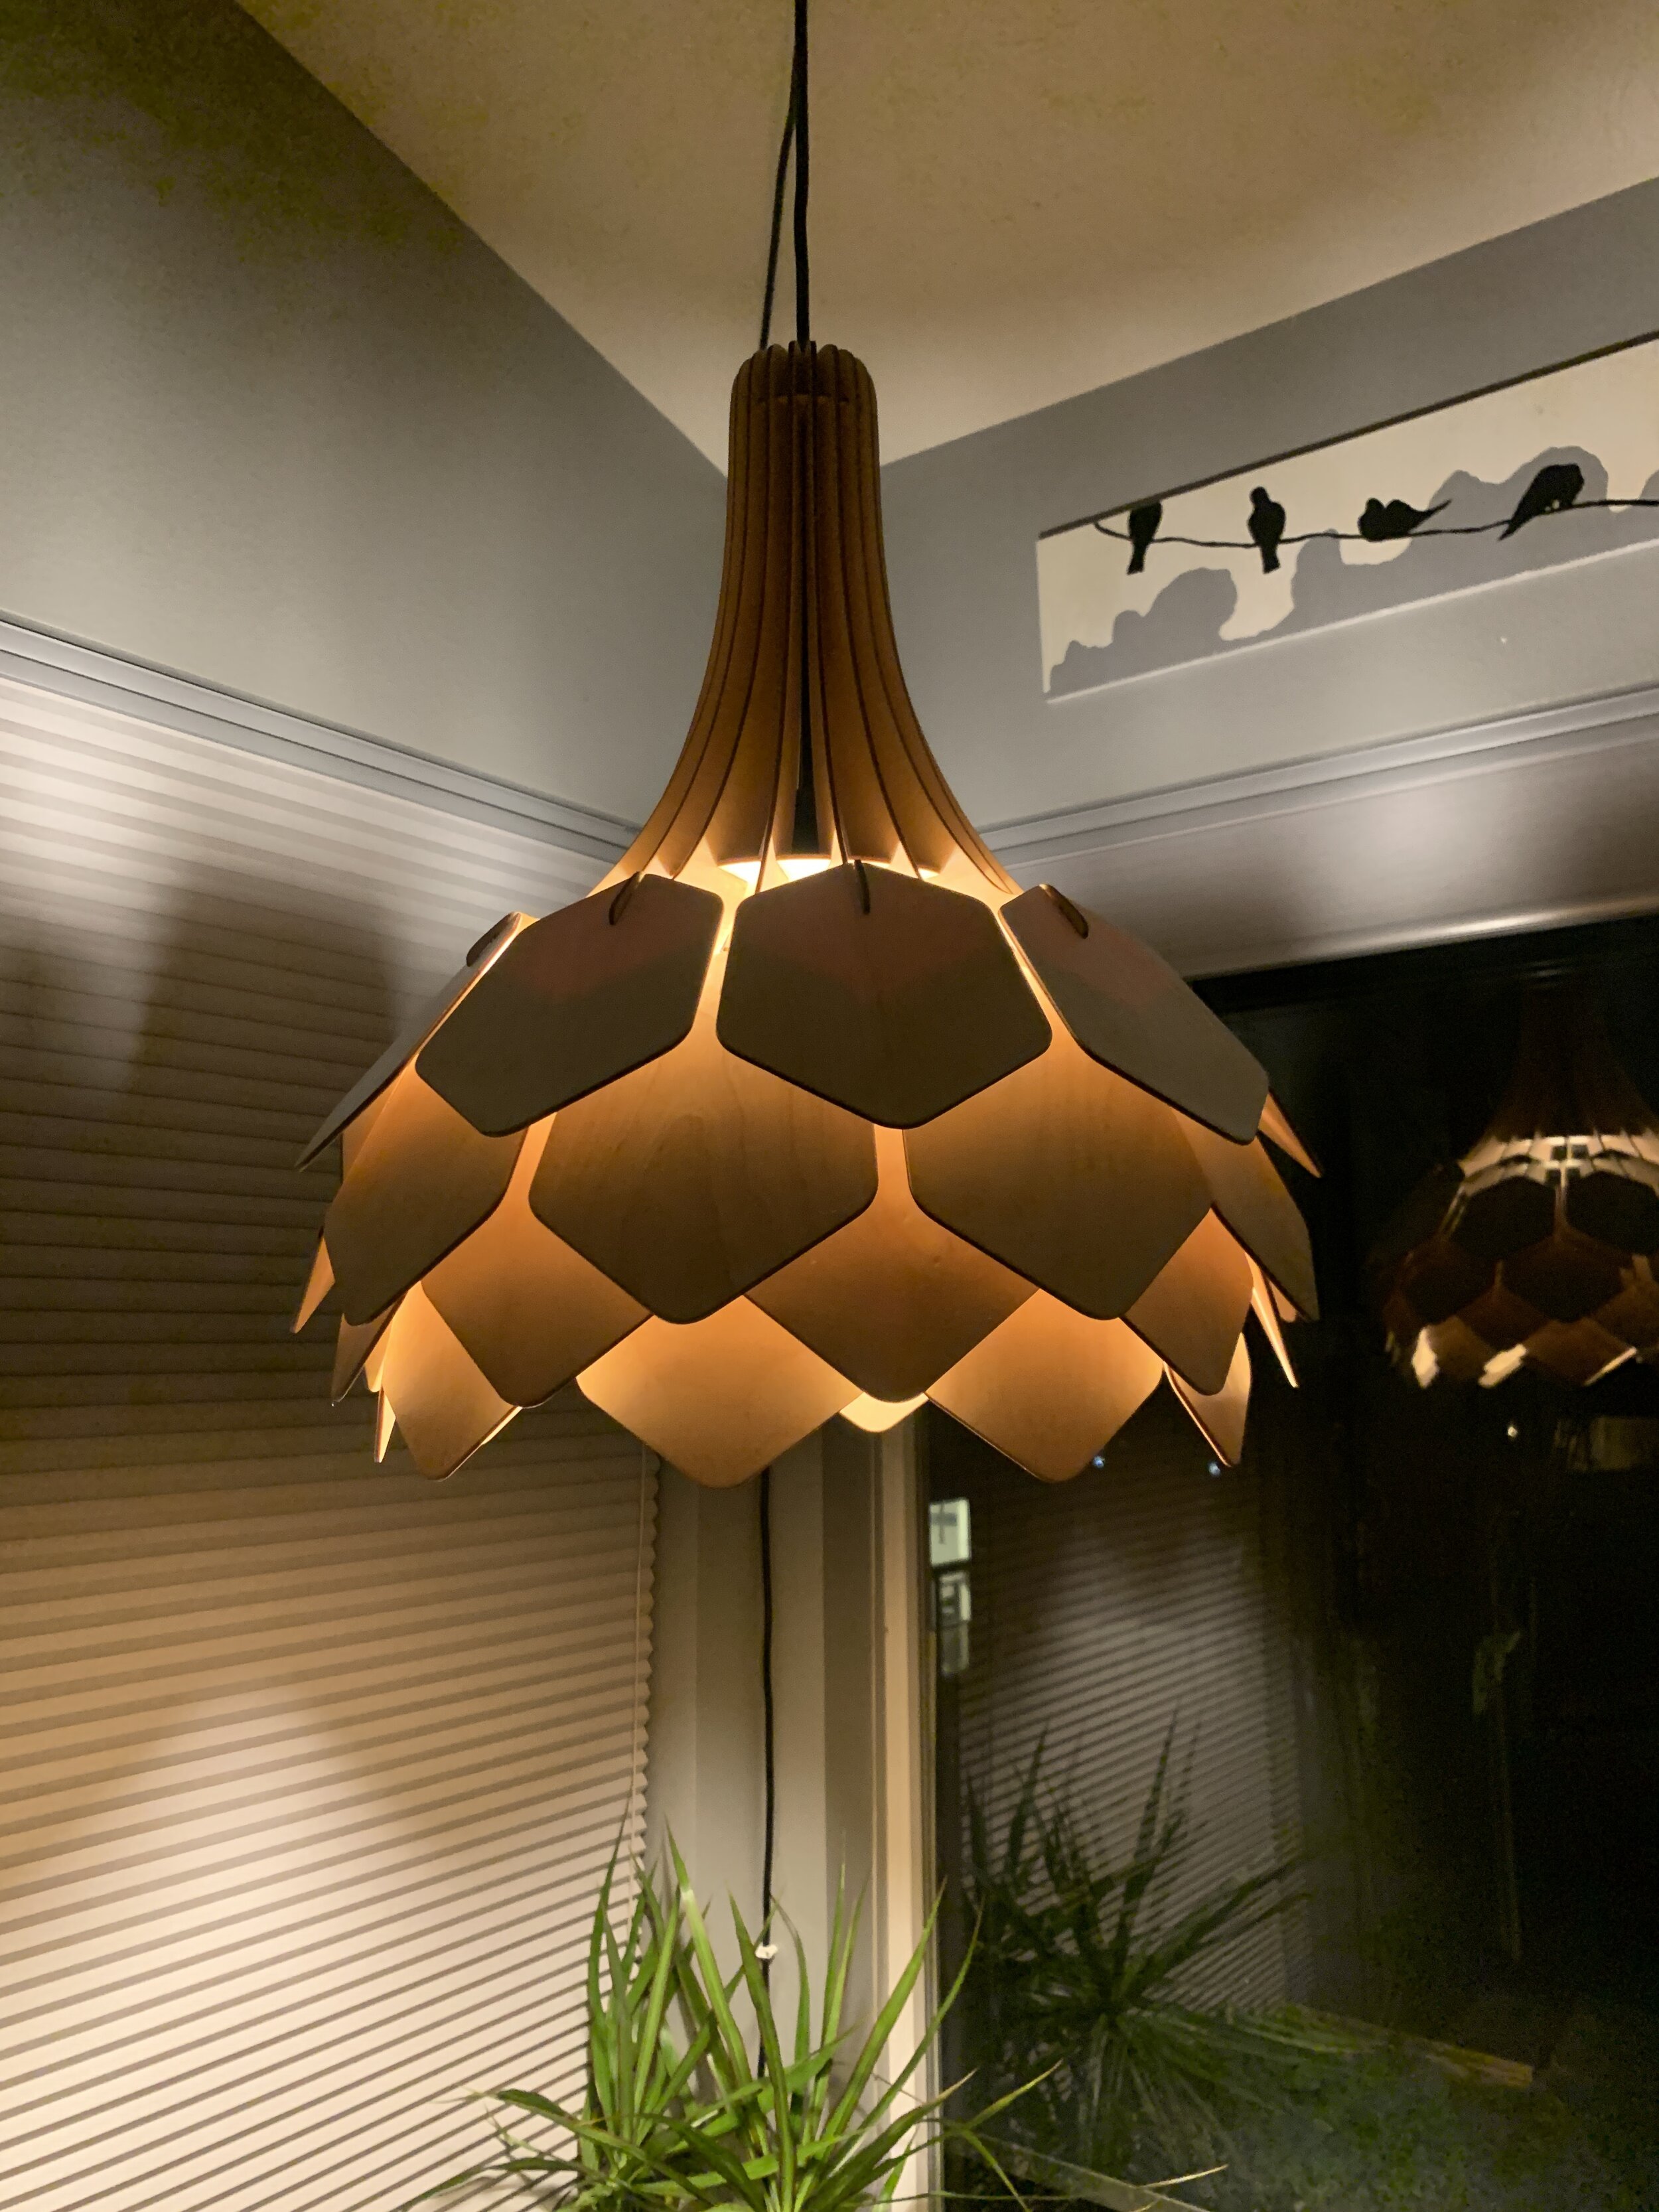
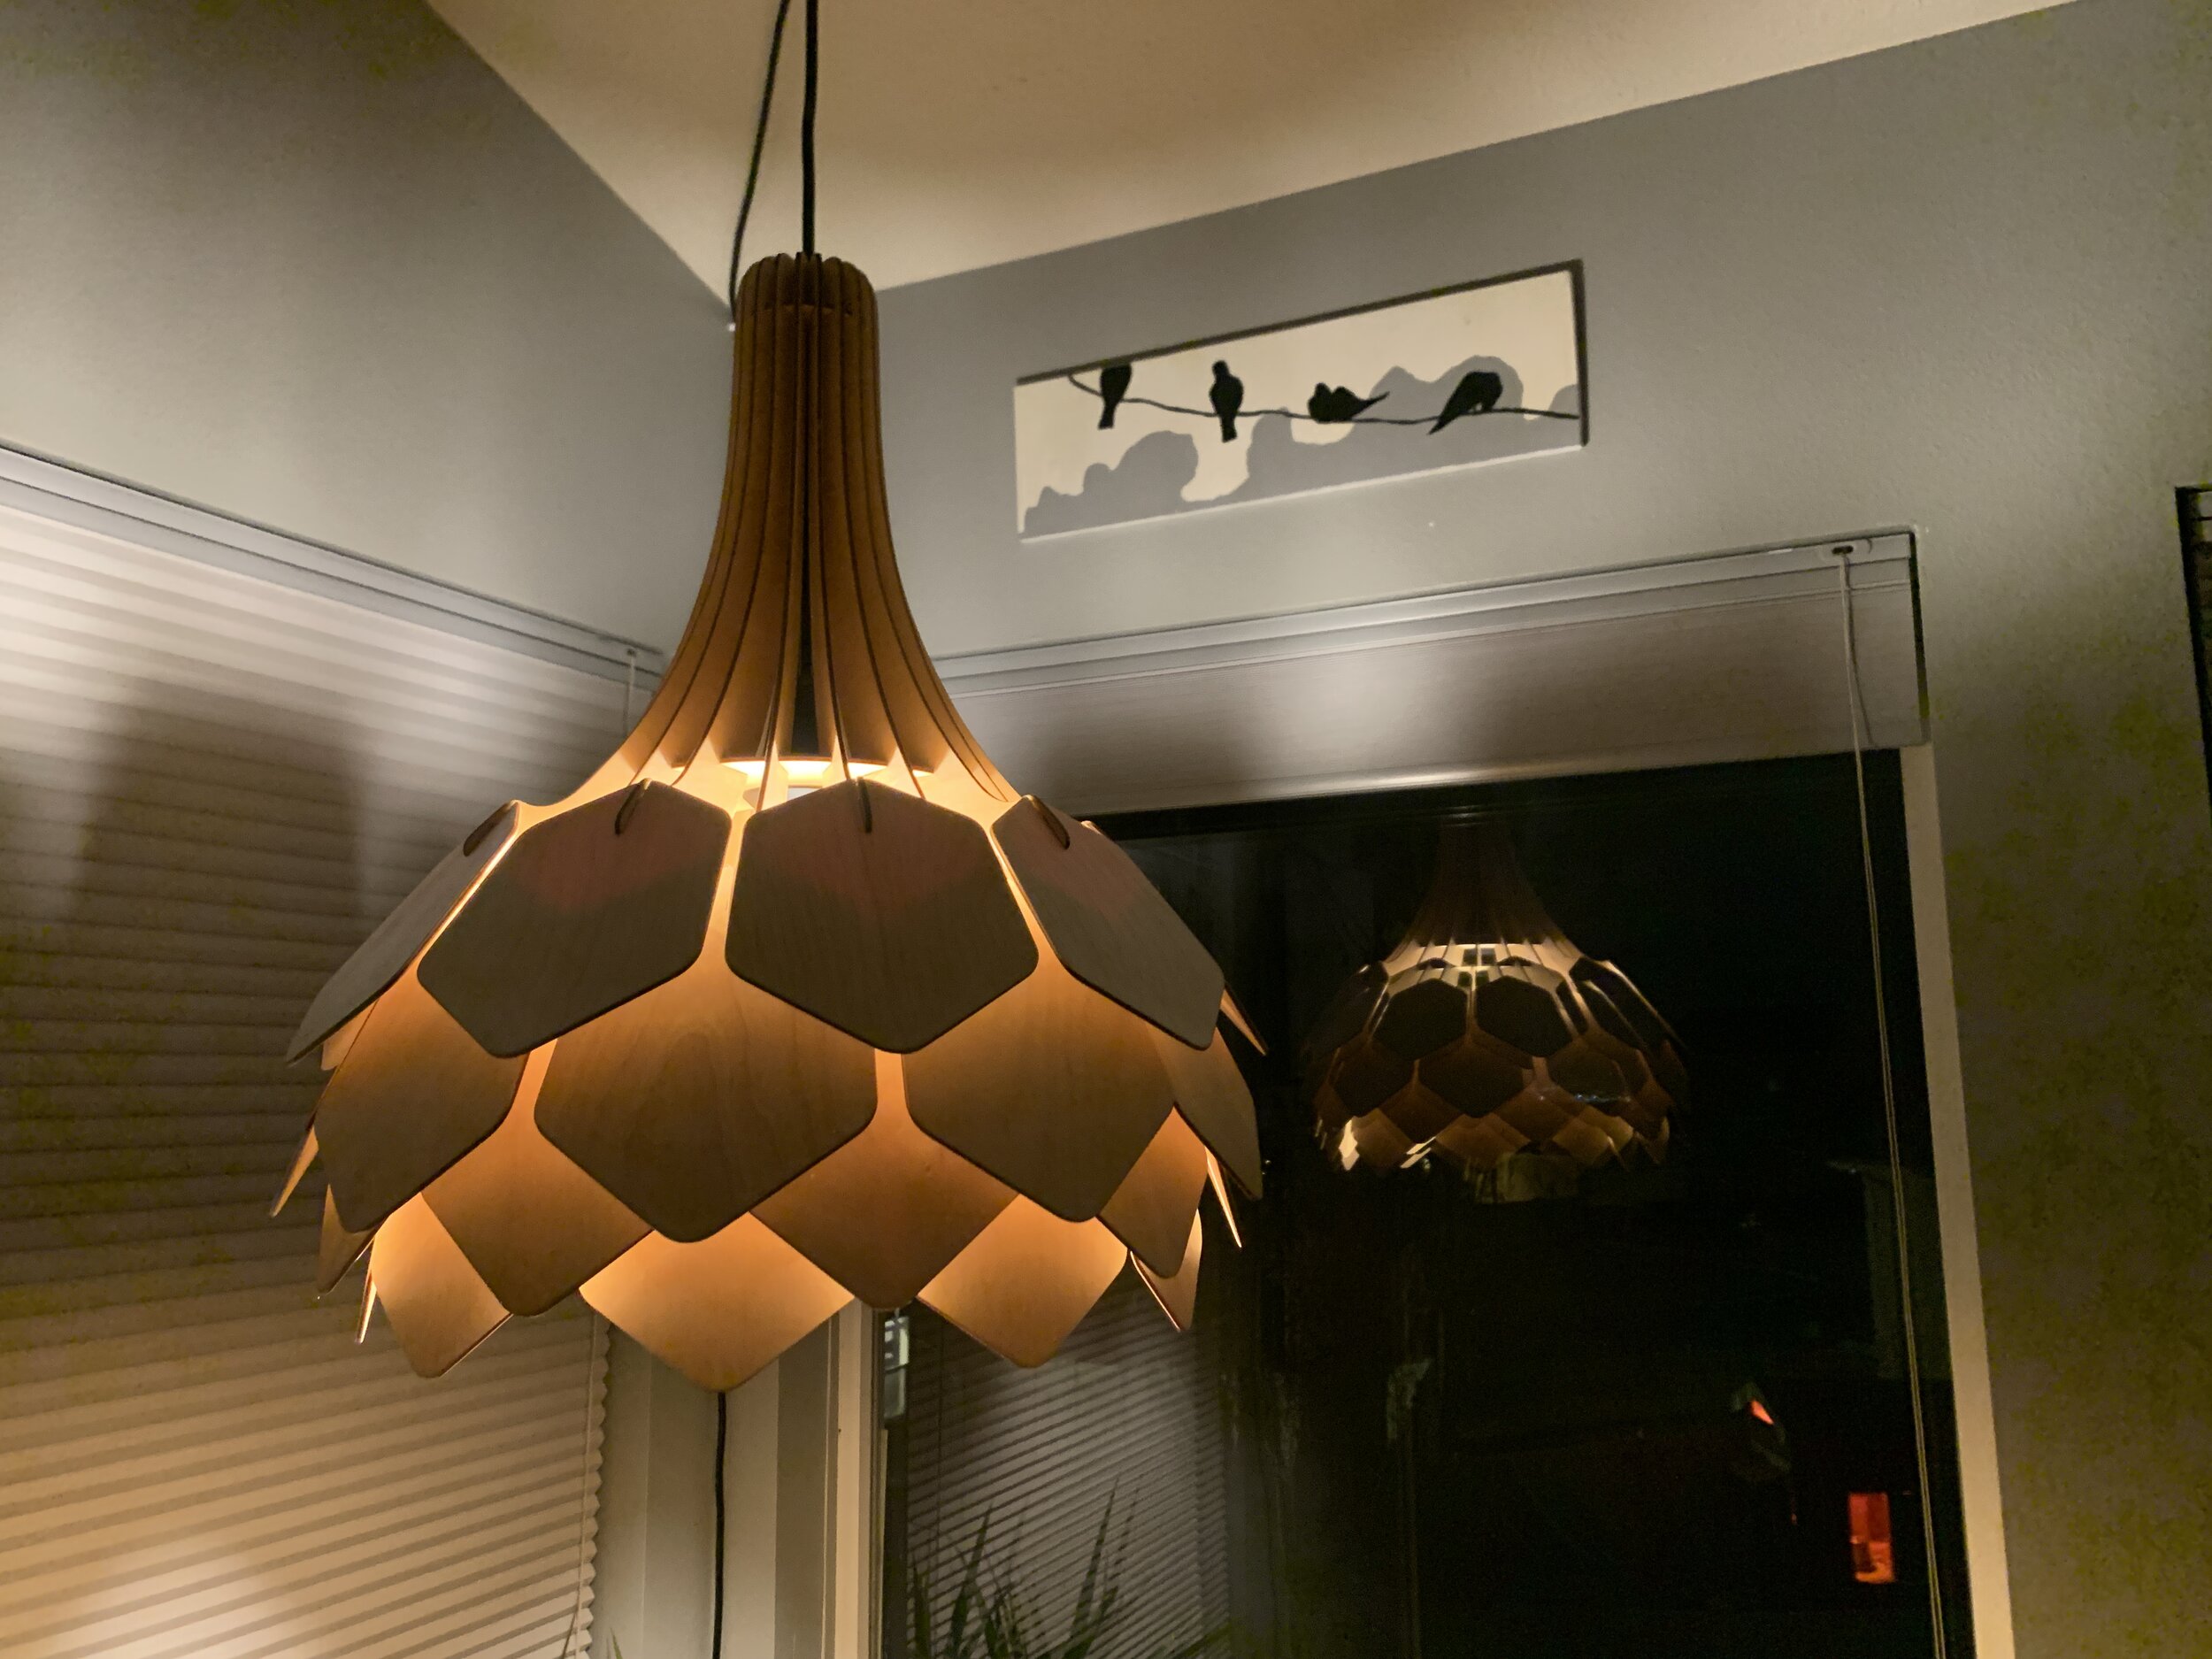
I used the standard 3mm / 1/8” 3 ply birch wood. Cutting, sanding and finishing took a few days. I finished it with Waterlox Original Sealer and Finish which is Tung Oil based. I made some quick drying racks for the parts to make handling them all easier. The pendant lamp cord bulb socket is something I had laying around but it’s similar to this one. Enough shop talk. Here’s some build photos and videos: